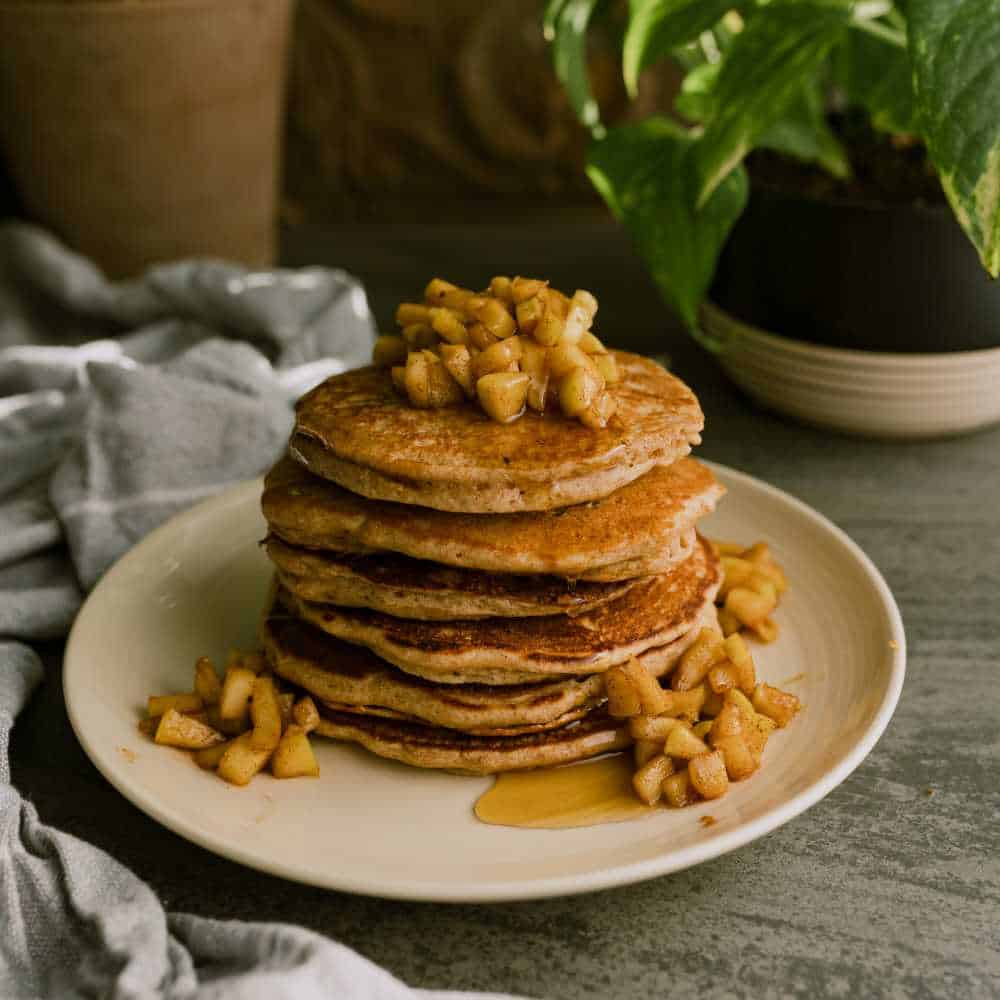
Spelt Flour Pancakes are a super tasty and healthy way to start the day! Made with simple, wholesome ingredients, these pancakes are a delicious way to incorporate spelt flour in your recipe repertoire (so are my Chocolate Chunk Spelt Cookies!). I love how fluffy and tender they are. Scroll down on this blog post for tips on how to get the fluffiest pancakes.
I’ve been making a lot of healthy pancakes for my family lately because I’ve been swapping back and forth between testing this recipe and testing my recipe for Oat Flour Pancakes. My breakfast food loving boys have been thrilled. They’ll take pancakes for breakfast, lunch or dinner.

Do you need your weekday breakfast to be fast and mess-free? Try making several batches of these pancakes ahead of time. Freeze them in freezer-safe bags after they’ve totally cooled. For breakfast, pop them in the toaster to warm them up and you have a delicious, satisfying, healthy breakfast all week long.
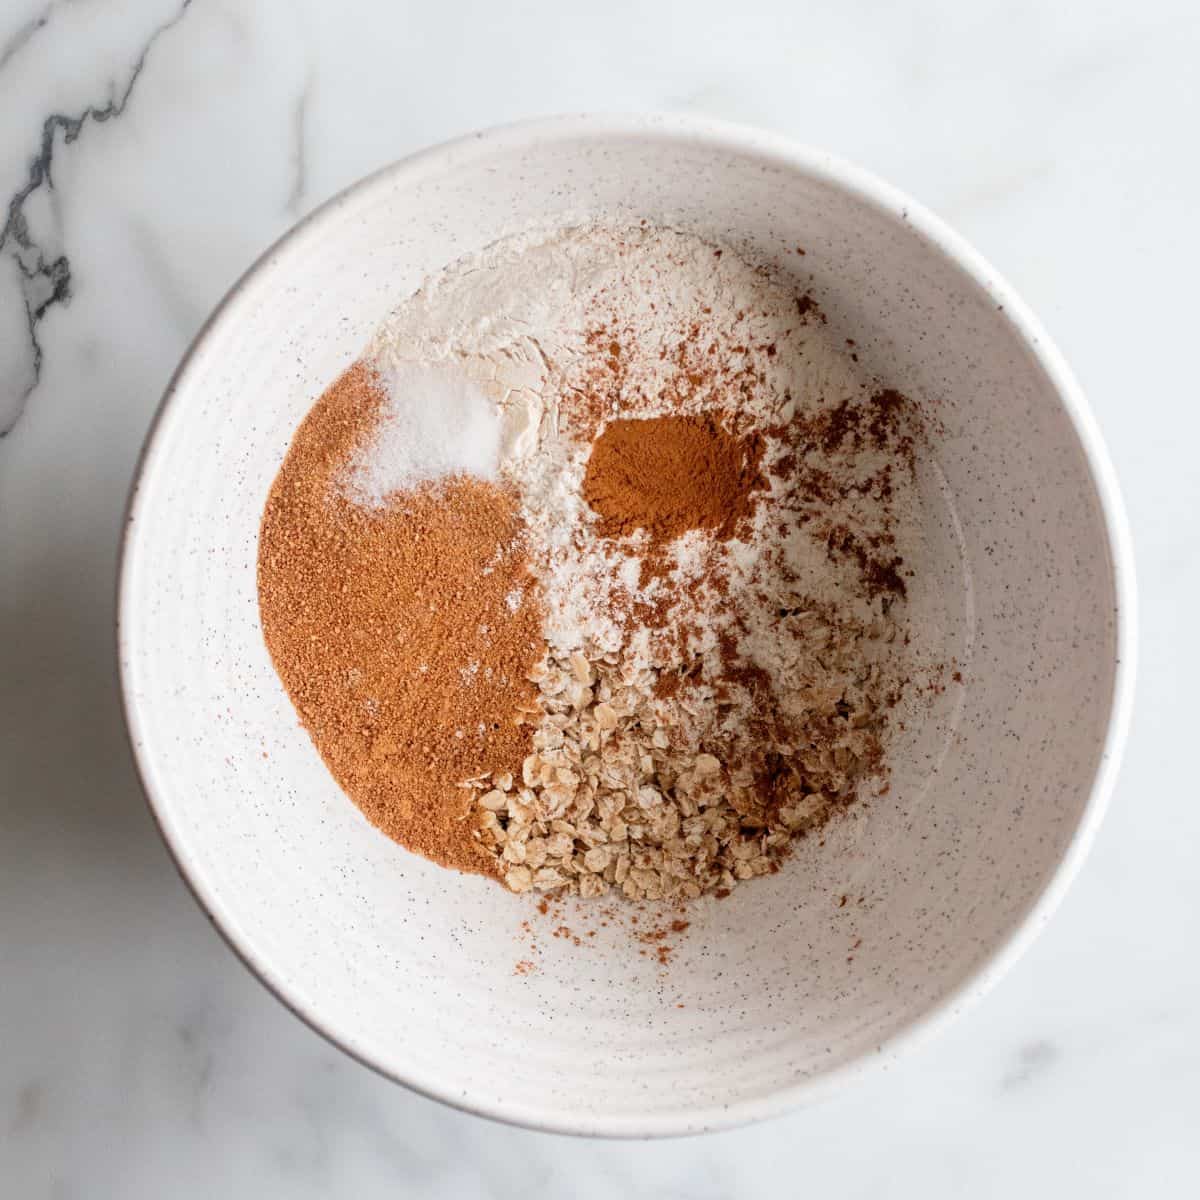
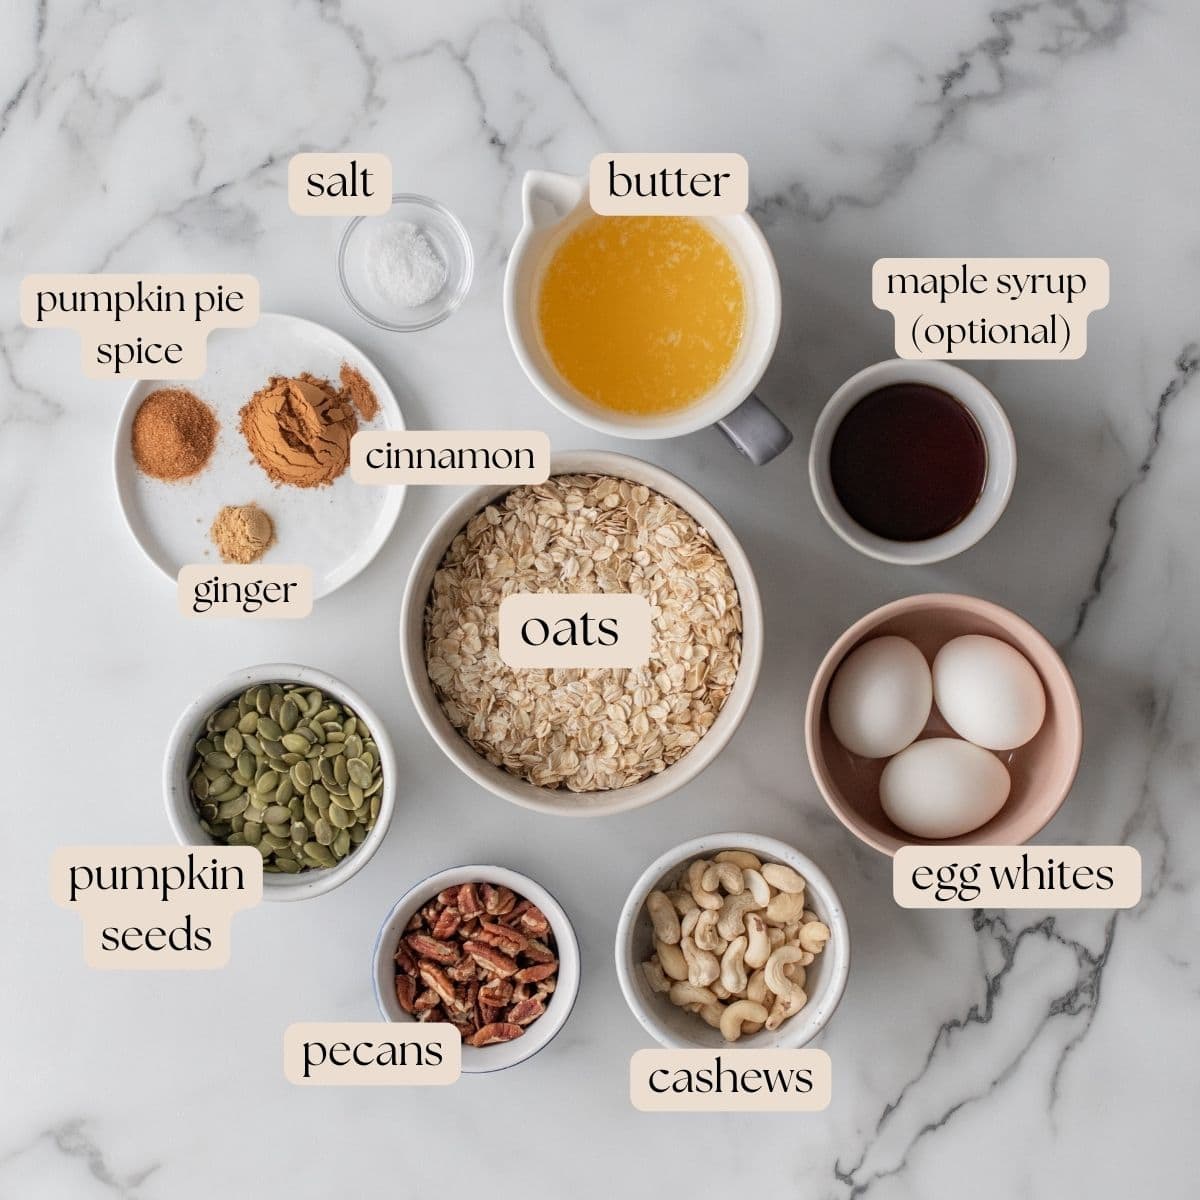
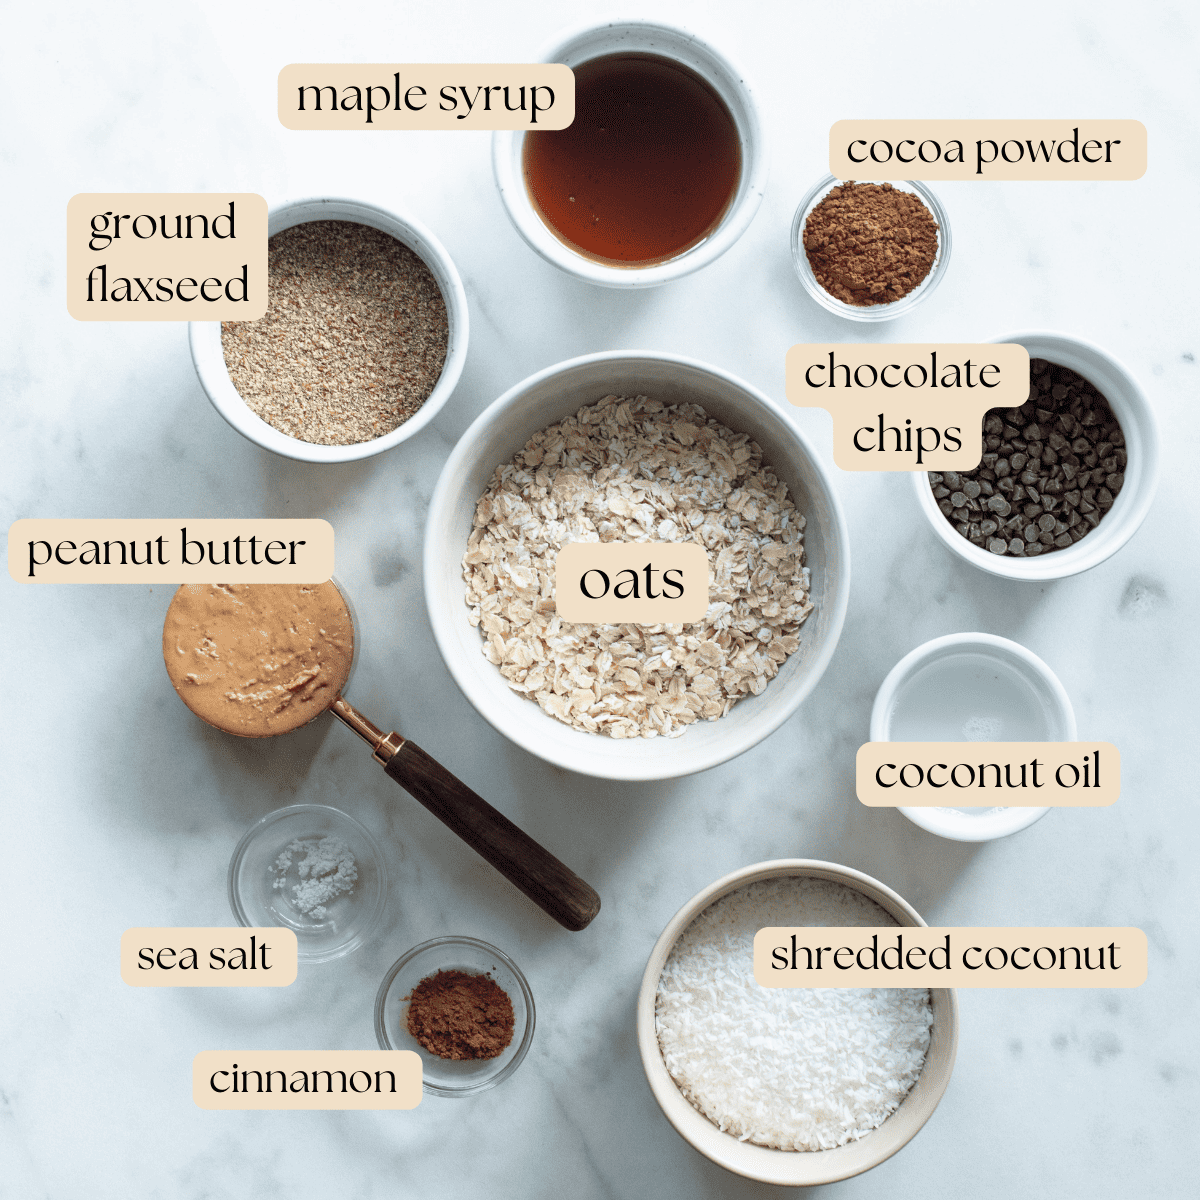
For this recipe you’ll need: whole spelt flour, buttermilk, eggs, butter, maple syrup, cinnamon, salt, baking powder, and baking soda.
Frequently Asked Questions About Spelt Flour
Why is spelt flour better for you?
Spelt is an ancient grain. It hasn’t undergone the level of hybridization of modern wheat. Spelt contains higher amounts of protein and fibre and provides significant amounts of important nutrients like manganese, niacin, copper and phosphorus. Some individuals who struggle to digest common wheat find spelt to be highly digestible. One reason for that could be that the gluten in spelt is water-soluble whereas the gluten in common wheat is not.
Is spelt flour gluten free?
No, spelt is not a gluten-free flour. It is not suitable for individuals with Celiac disease. It may be tolerated by individuals with mild gluten intolerance because it contains less gluten than modern wheat. Spelt is considered to be easier to digest than modern wheat for most people.

How to Make Healthy Spelt Flour Pancakes
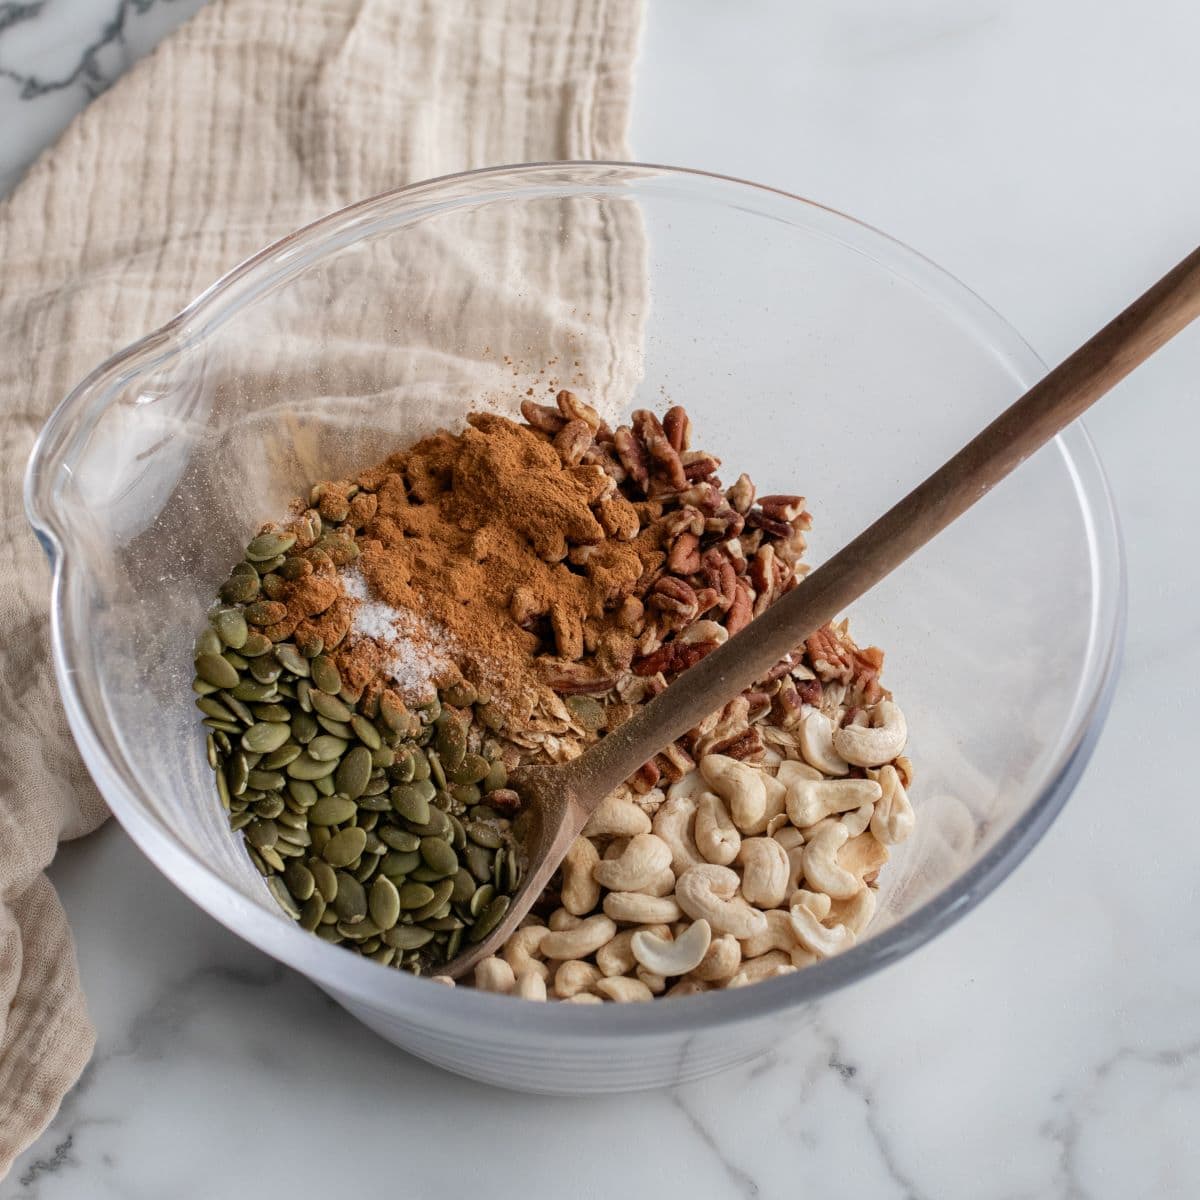
In a medium-sized bowl, whisk together all the dry ingredients until thoroughly combined.
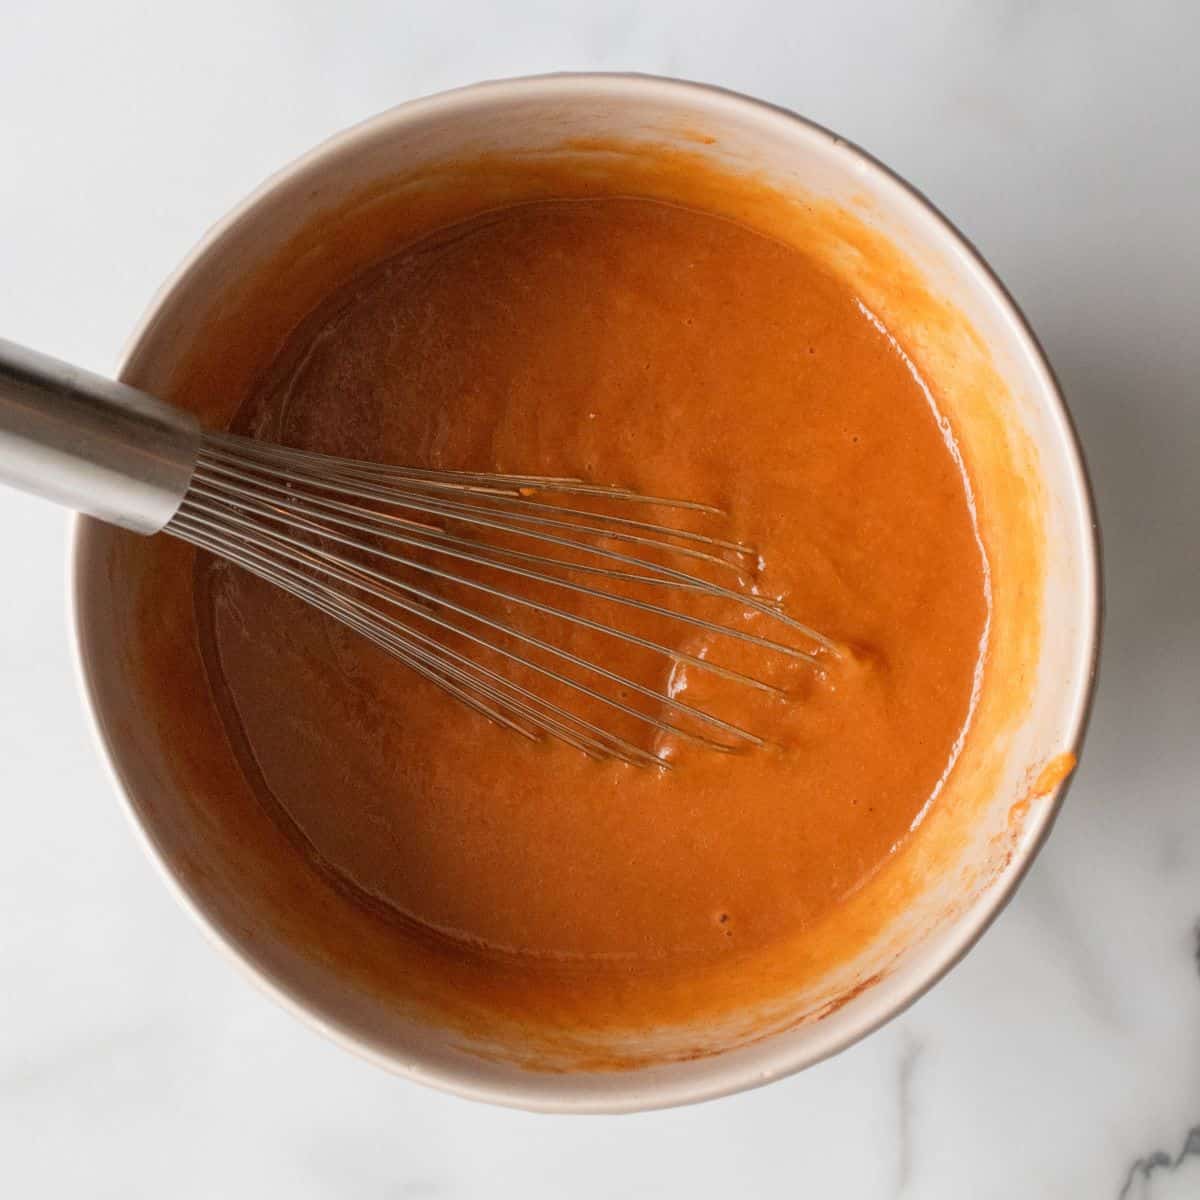
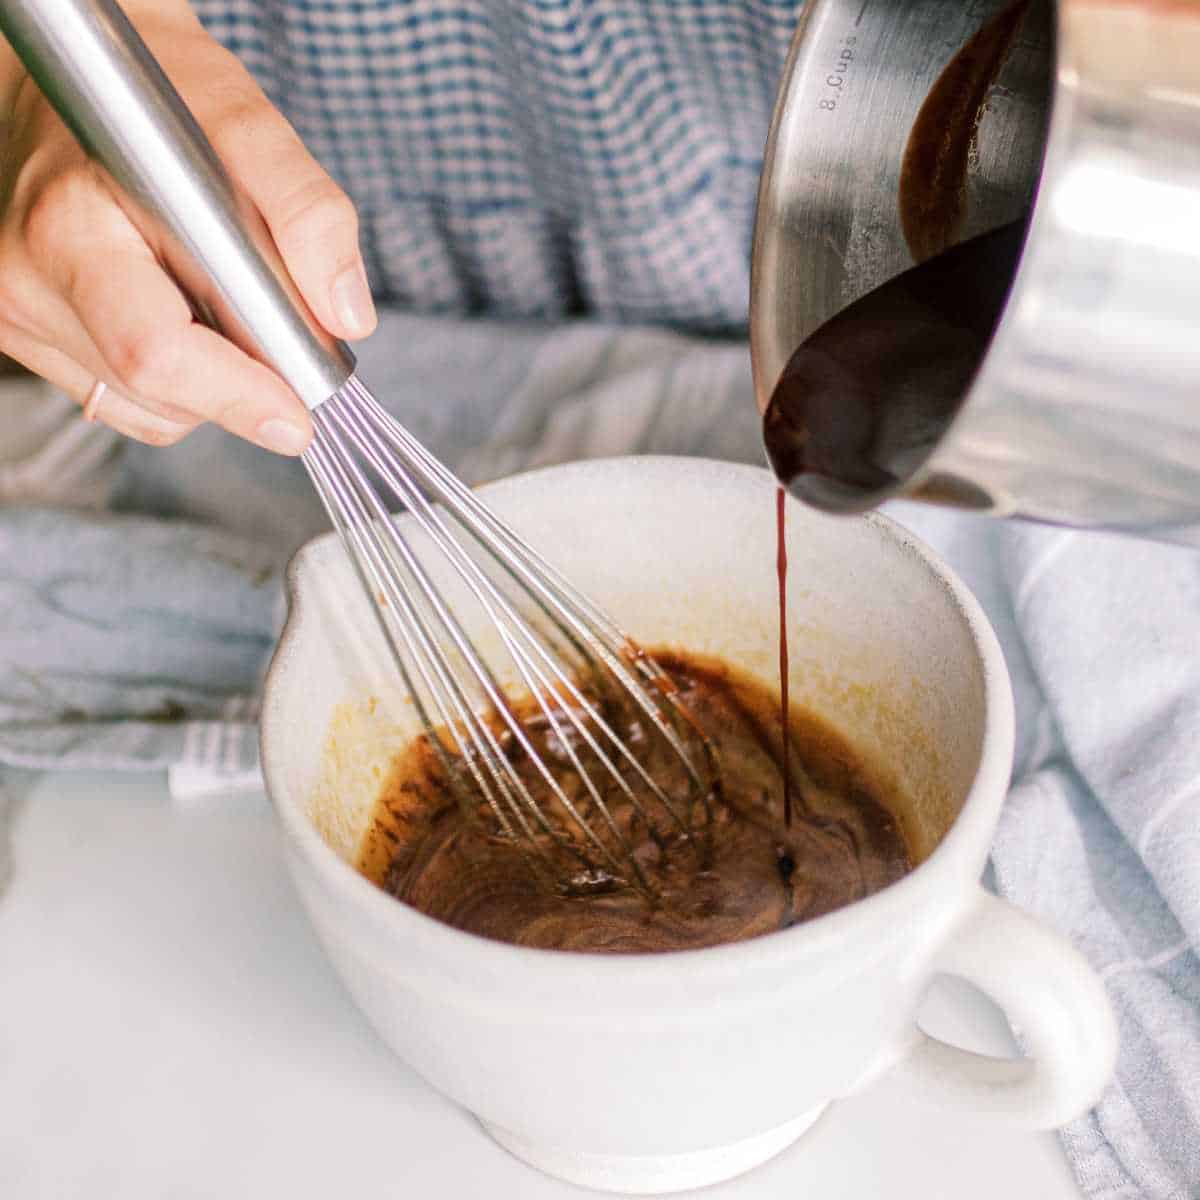
In a separate medium-sized bowl, whisk together the buttermilk, egg yolks (reserve egg whites in another bowl), melted and cooled butter and maple syrup.

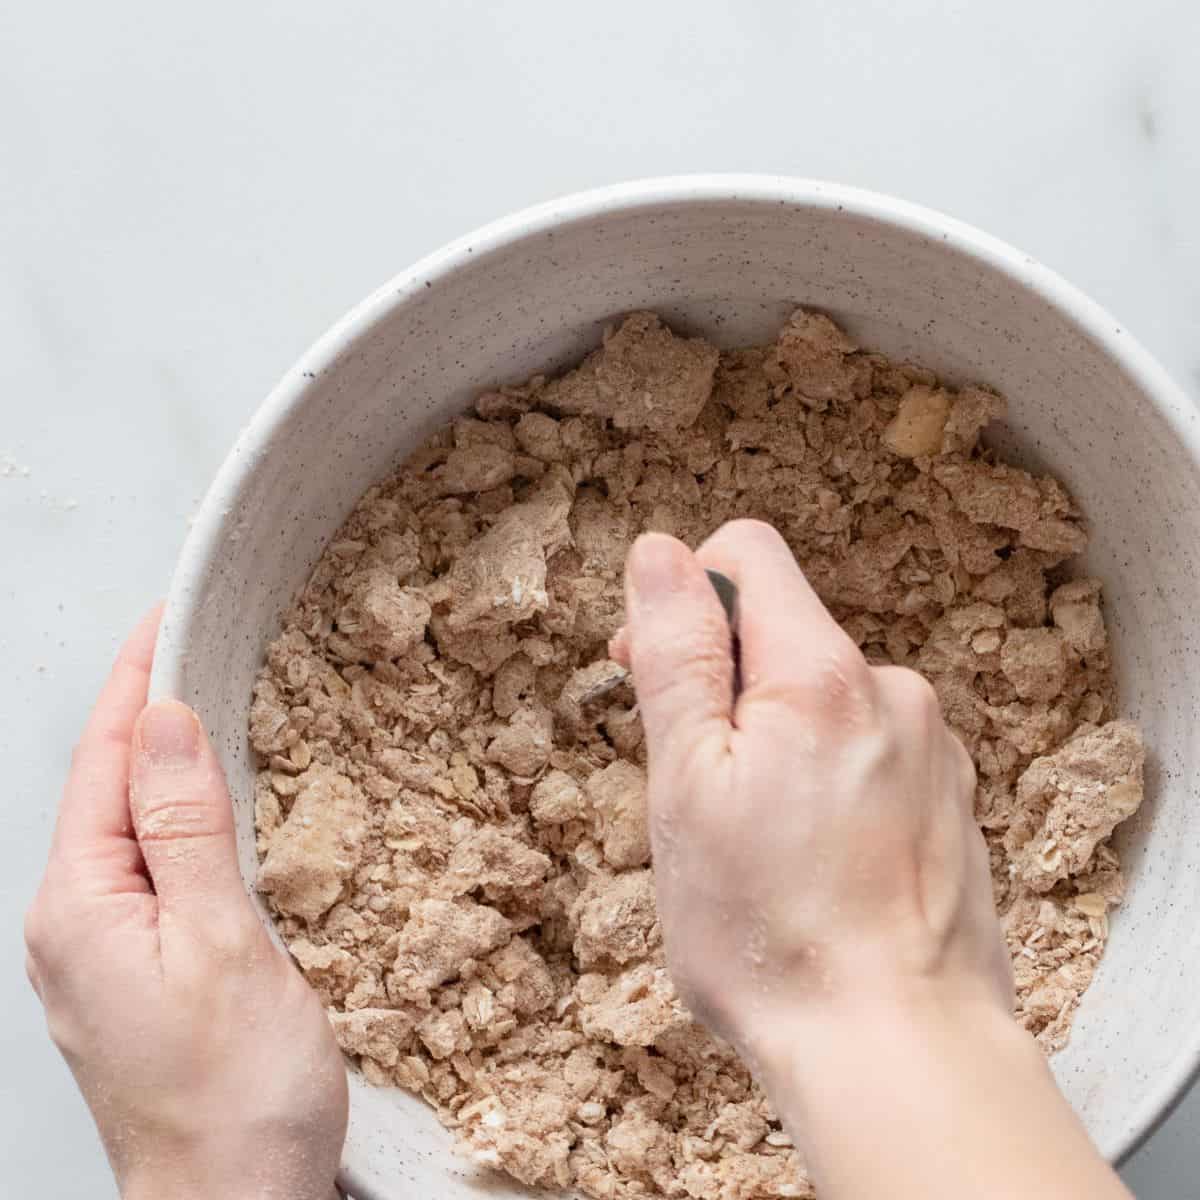
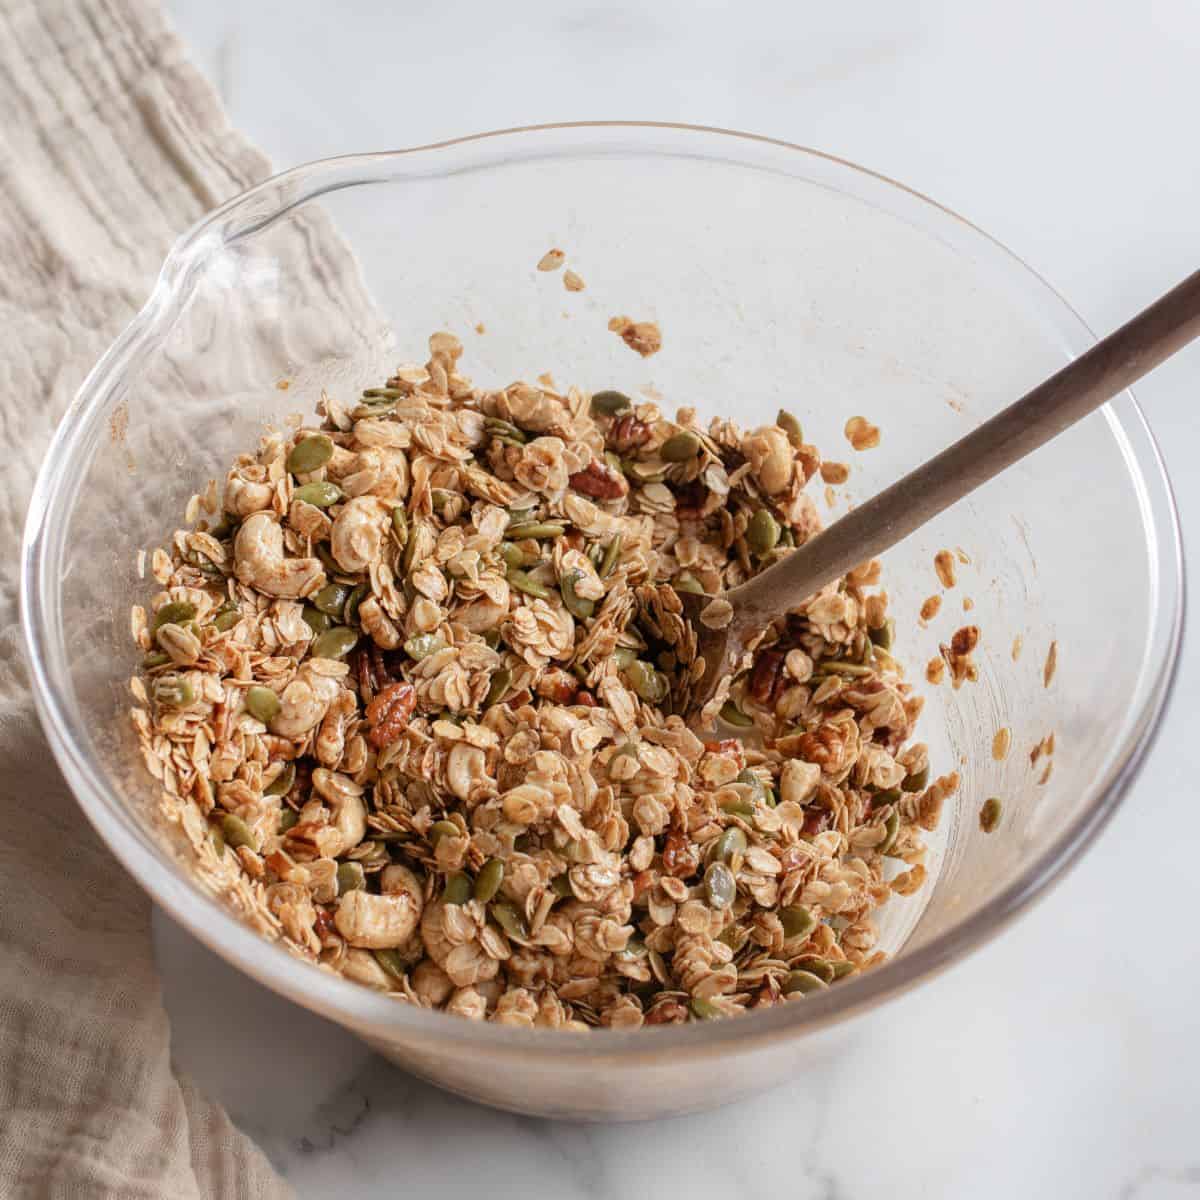
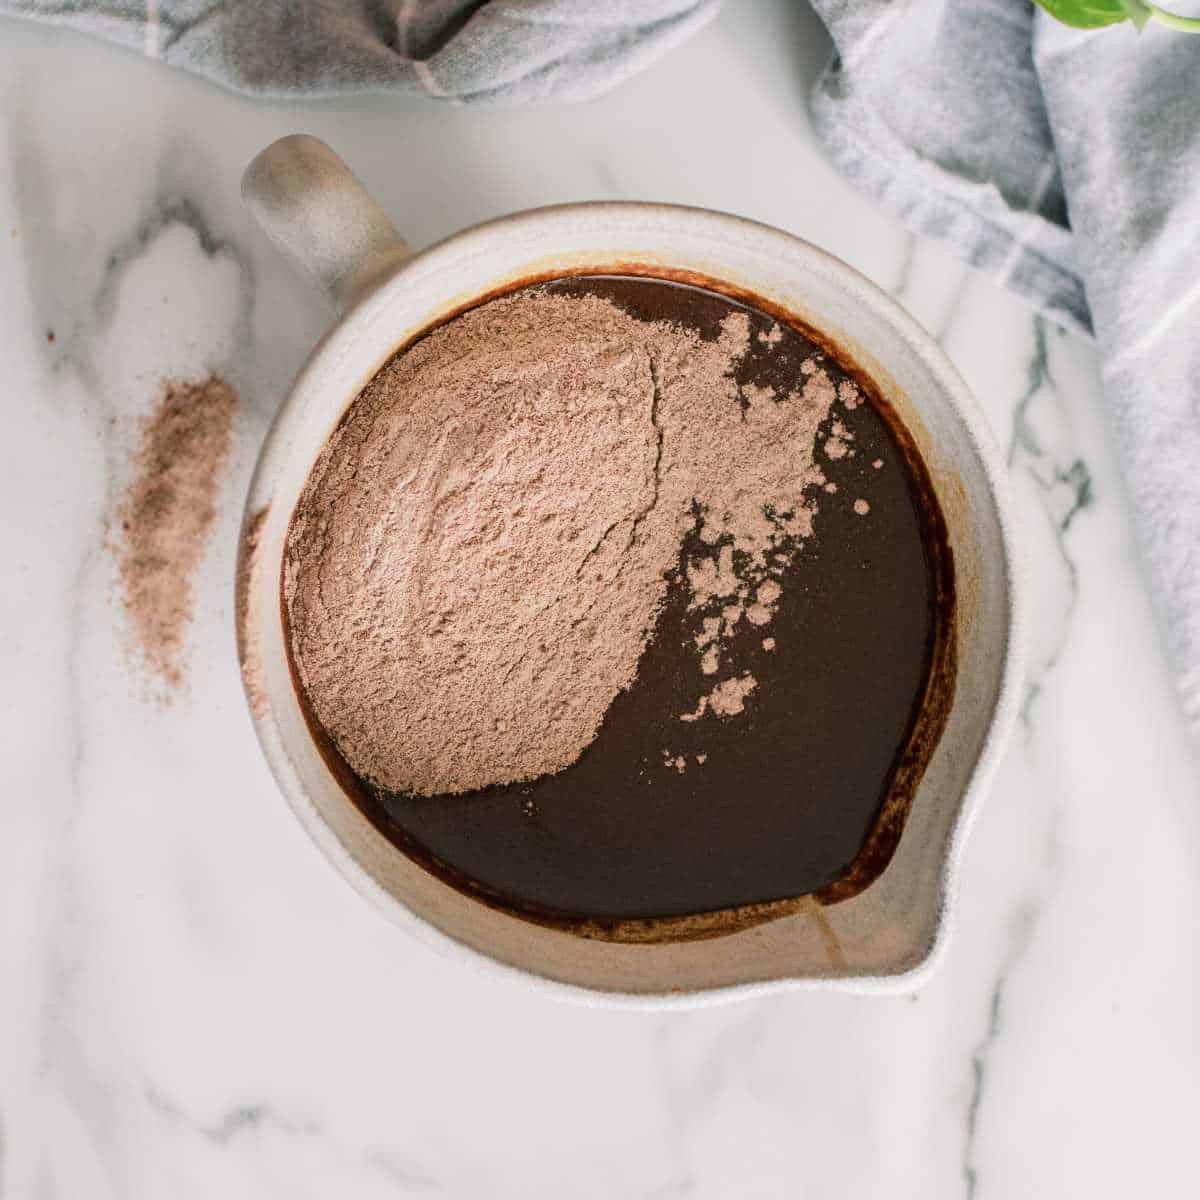
Stir dry ingredients into the wet ingredients until just combined. Don’t overmix.
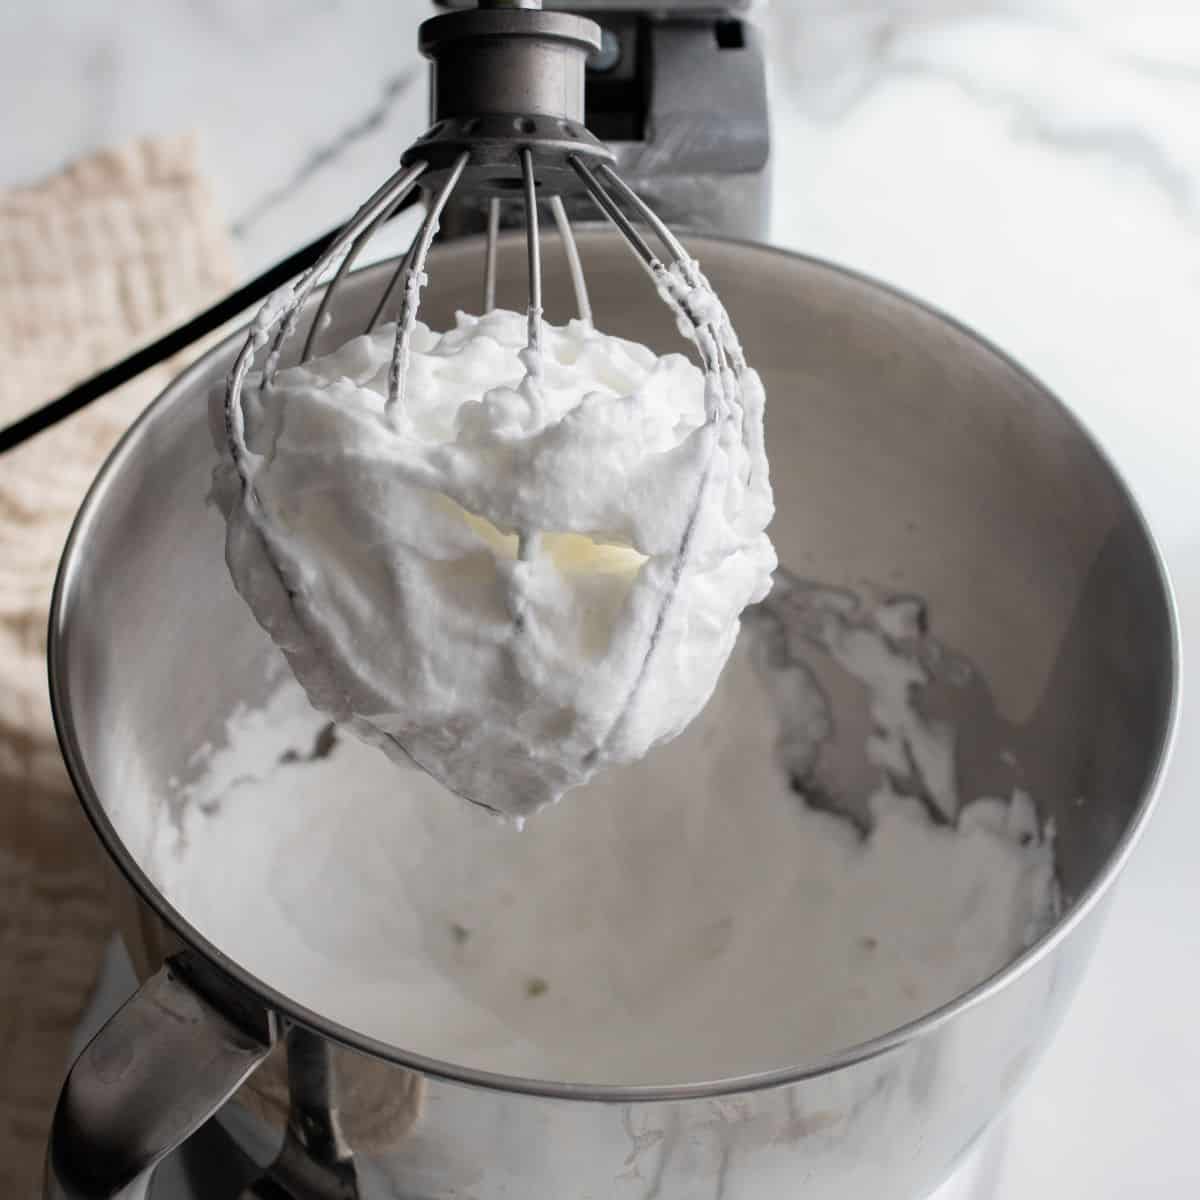
In a medium-sized bowl, beat the egg whites until soft peaks form. Gently fold the egg whites into the pancake batter.


Note: I have made this recipe by doing this folded-in egg white trick and also just adding eggs normally. Both ways are delicious. The egg white trick just makes for fluffier pancakes.
Preheat the oven to 200 degrees F. Use the oven as a warmer for the cooked pancakes.
Warm 1 tbsp. of butter or oil in a pan on medium heat and wait until the pan preheats. Using a ⅓ cup measure, pour pancake batter into the pan. Flip when you see little bubbles form on the top of the pancake and the outside edges are starting to set. Flip the pancakes and cook for about a minute on the other side.
Once cooked, place the pancakes on a sheet tray in your preheated oven to keep them warm. Continue the process until all the batter has been used. Enjoy!

4 Tips for Making Incredibly Fluffy Pancakes
- Using fresh baking powder is very important if you want fluffy pancakes. My recommendation is to buy a small container of baking powder and use it within 3-6 months. If your baking powder or baking soda has been in your cupboard for longer than 6 months, it's lost most of its effectiveness.
- Don’t over mix the batter. Overmixing can cause gluten development which will make pancakes dense and chewy.
- In this recipe you have the option of separating egg whites from the yolks and whipping them into soft peaks to fold into the pancake batter. This creates incredibly light and fluffy pancakes! It’s similar to the technique used to make soufflés.
- Ideally, only flip the pancakes once. You can knock the air out of them by flipping them multiple times.
Delicious Pancake Toppings:
- Fresh or frozen berries
- Peanut butter, almond butter or Nutella
- Whipped cream
- Bananas
- Chopped nuts
- Jam– raspberry, blueberry, strawberry
- Apple Butter
- Maple Cream Cheese syrup (click to see recipe)
- Cinnamon Apple Topping (see recipe below)
More Recipes to Enjoy Around the Table
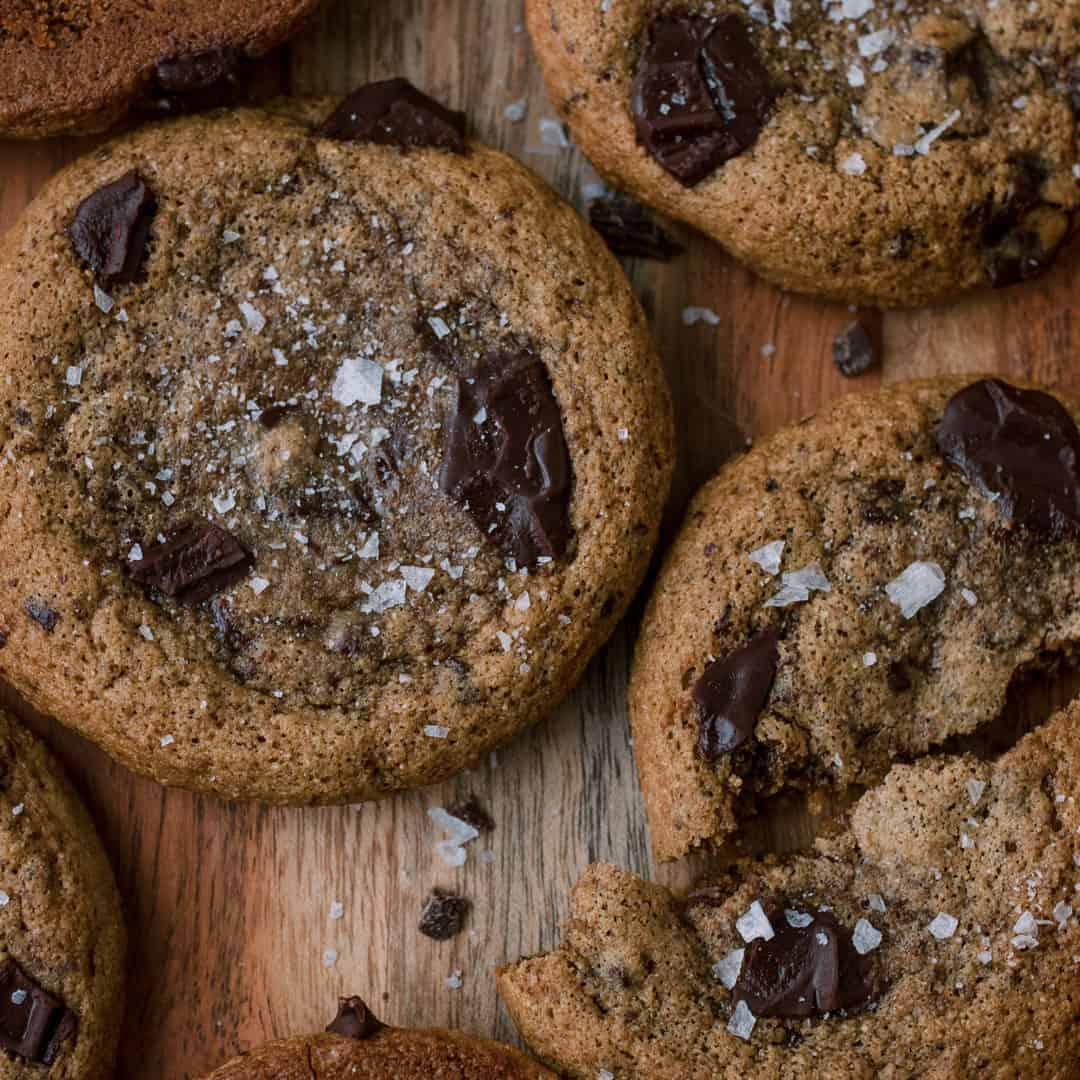
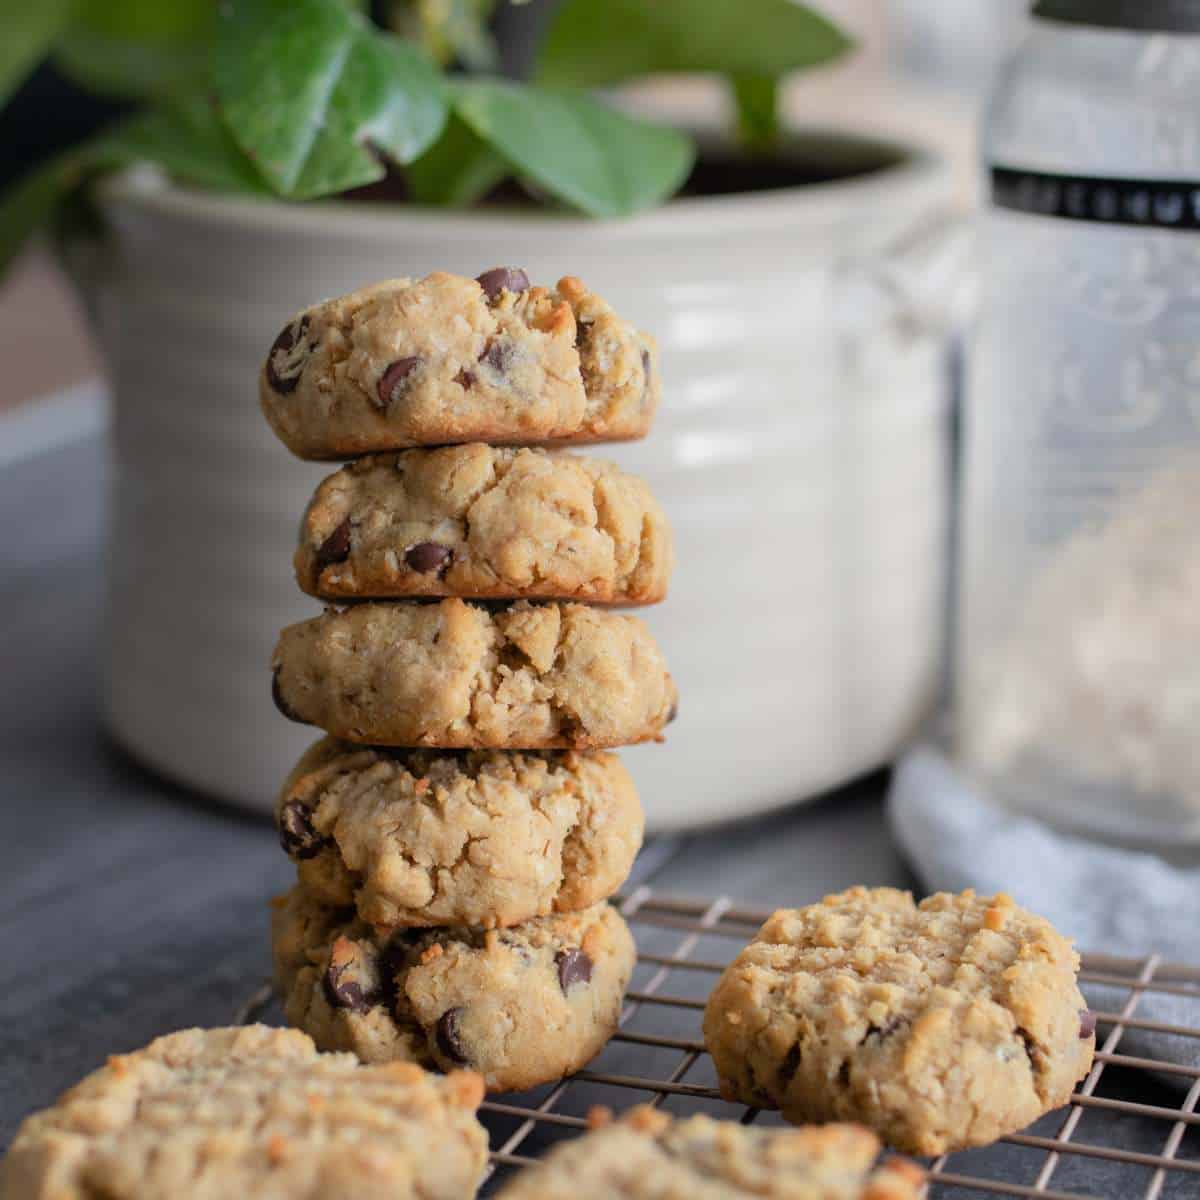
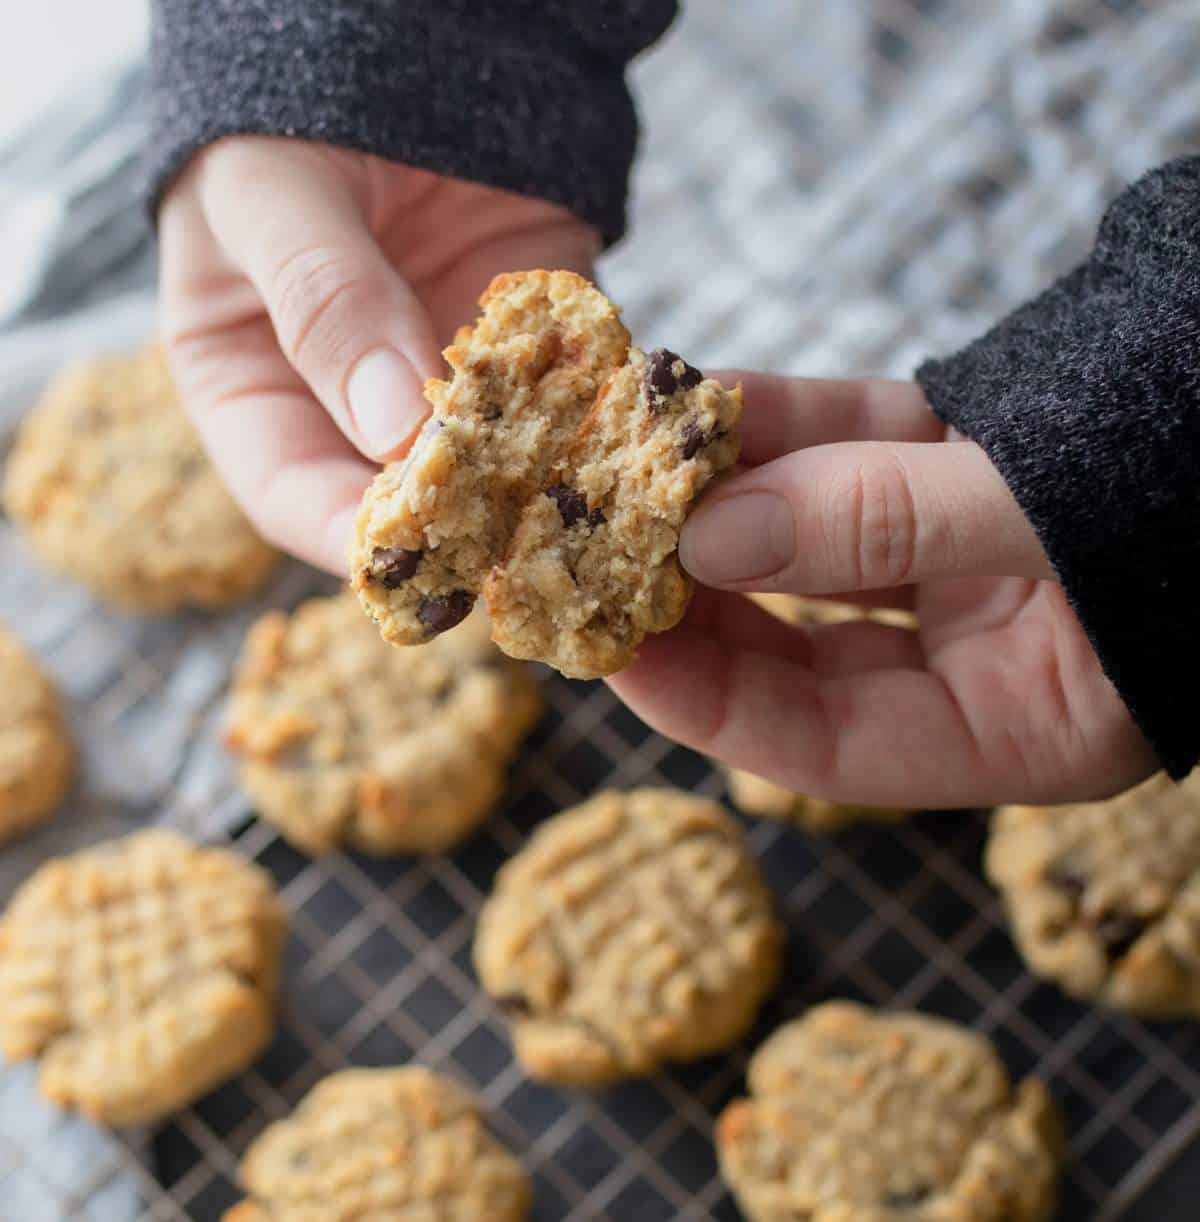
Spelt Flour Chocolate Chunk Cookies
This is one of my favourite spelt chocolate chunk cookie recipes! They are chewy and delightfully chocolatey. These cookies taste delicious and feel indulgent all while being made with healthier ingredients like coconut sugar and spelt flour. I know you’re going to love them!

Healthy Spelt Flour Cinnamon Buns
These healthy spelt cinnamon buns are unique with the hint of orange in the filling and the icing. They are satisfying but not overly sweet and you still feel great after eating them.

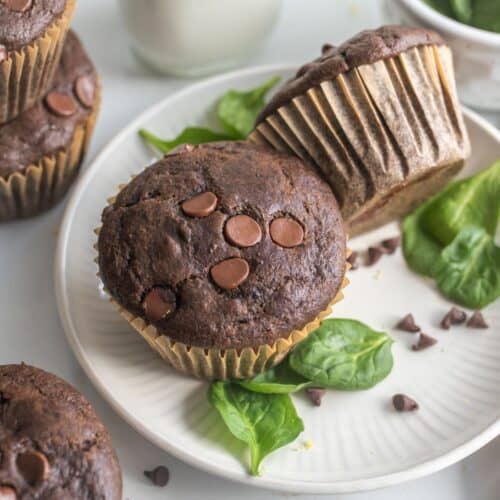
Spelt Flour Double Chocolate Banana Bread
I present to you a banana bread recipe for the chocolate lover. Satisfy those chocolate cravings and enjoy all the comfort that banana bread is famous for with Double Chocolate Banana Bread.
Healthy Spelt Flour Pancakes

Healthy Spelt Flour Pancakes
Ingredients
Dry Ingredients
- 1 ¼ cup whole spelt flour
- 3 tsp baking powder
- ½ tsp baking soda
- ¼ tsp sea salt
- ½ tsp ground cinnamon
Wet Ingredients
- 1 cup buttermilk
- 2 large eggs egg whites separated from the yolks and whipped
- 2 tbsp melted butter
- 1 tbsp pure maple syrup
- 1 tsp pure vanilla extract optional
For The Cinnamon Apple Topping
- 1 medium-sized apple skin left on
- ¼ tsp ground cinnamon
- pinch ground nutmeg
- 2 tbsp pure maple syrup
Instructions
For The Pancakes:
- In a medium-sized bowl, whisk together all the dry ingredients until thoroughly combined.
- In a separate medium sized bowl, whisk together the buttermilk, egg yolks (reserve egg whites in another bowl), melted and cooled butter and maple syrup.
- Stir dry ingredients into the wet ingredients until just combined. Don’t overmix.
- In a medium-sized bowl, beat the egg whites until soft peaks form. Gently fold the egg whites into the pancake batter.
- Note: I have made this recipe by doing this folded in egg white trick and also just adding eggs normally. Both ways are delicious. The egg white trick just makes for fluffier pancakes.
- Preheat the oven to 200 degrees F. Use the oven as a warmer for the cooked pancakes.
- Warm 1 tbsp. of butter or oil in a pan on medium heat and wait until the pan preheats. Using a ⅓ cup measure, pour pancake batter into the pan. Flip when you see little bubbles form on the top of the pancake and the outside edges are starting to set. Flip the pancakes and cook for about a minute on the other side.
- Once cooked, place the pancakes on a sheet tray in your preheated oven to keep them warm. Continue the process until all the batter has been used. Enjoy!
For The Cinnamon Apple Topping
- Leaving the skin on, chop an apple into small pieces. Stir in cinnamon and nutmeg and maple syrup until the apples are evenly coated.
- Melt 2 tablespoon of butter in a skillet. Add the apples and cook until softened and lightly caramelized.
Notes
- If you don’t have buttermilk in your fridge you can make your own buttermilk easily at home. You just need regular milk and either lemon juice or vinegar. Check out this post for instructions.
- Make sure your pan is properly preheated before you pour your first pancake into it.
Nutrition
If you make these Spelt Flour Pancakes please leave a comment and give this recipe a rating! I aim to respond to every single comment. I am so grateful when you trust me and try one of my recipe creations in your own kitchen. I love to hear how it went! Let’s connect on Instagram and tag me in your food pics!
‘Til next time,
Christy