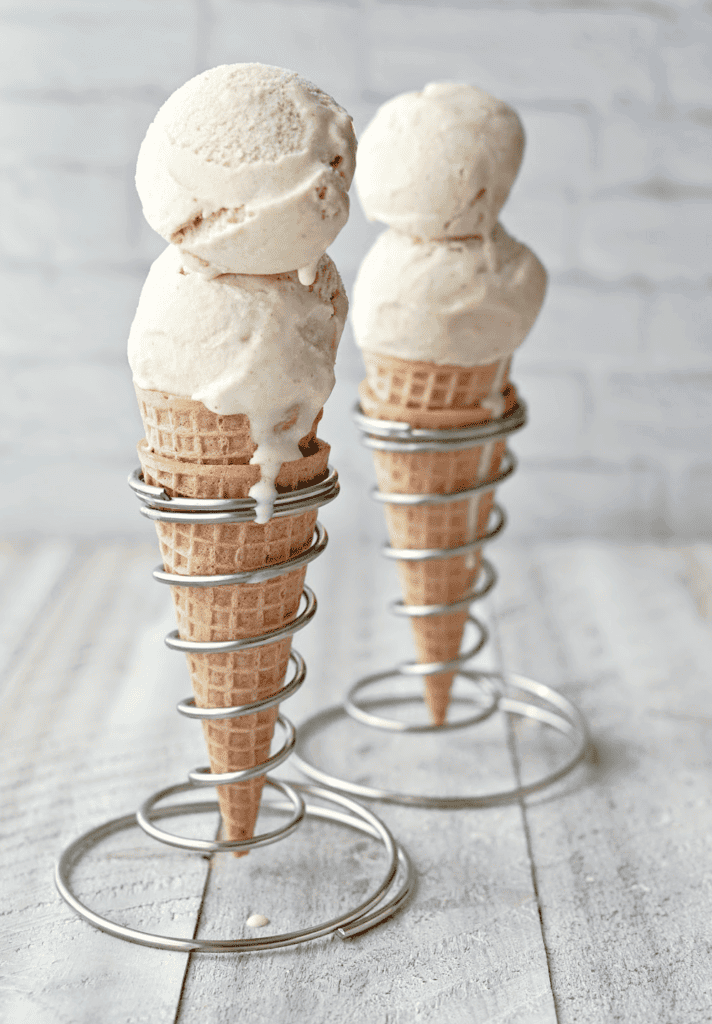
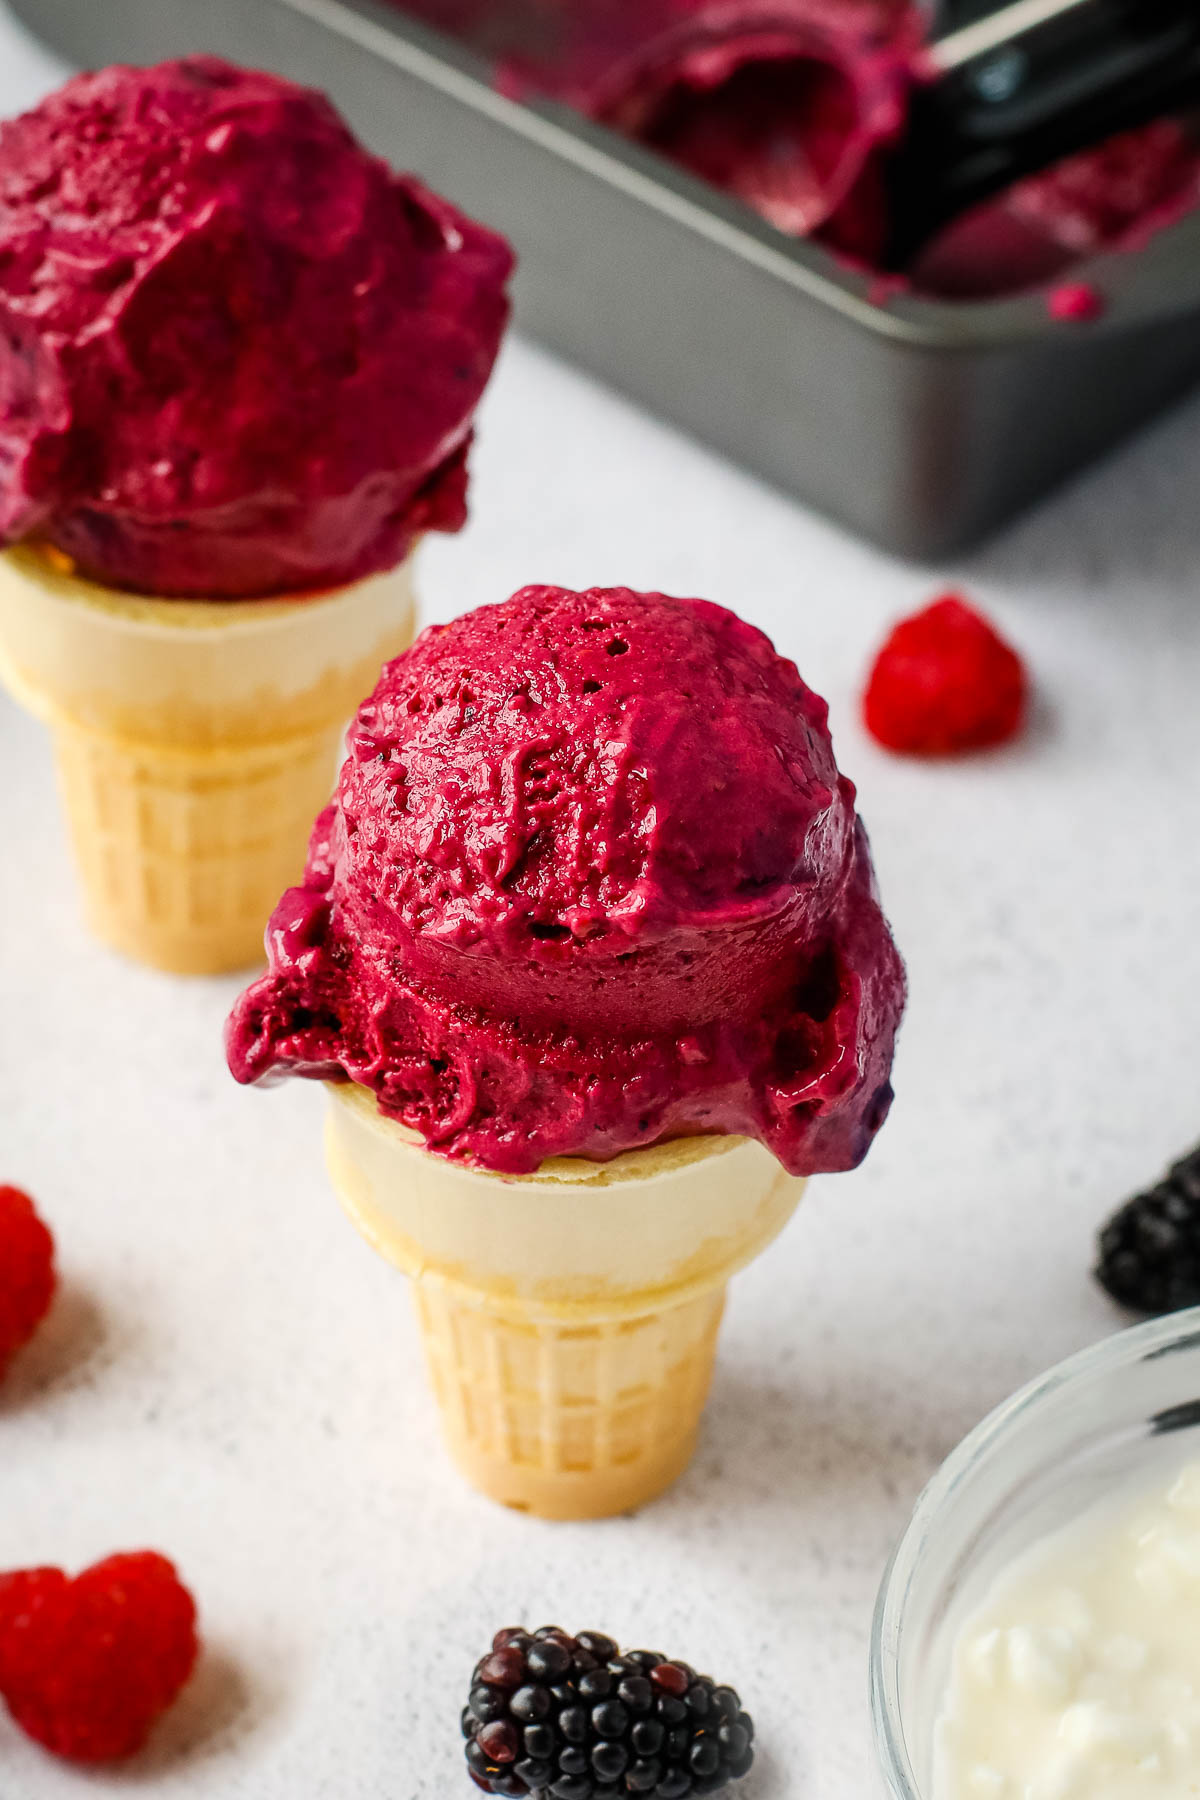
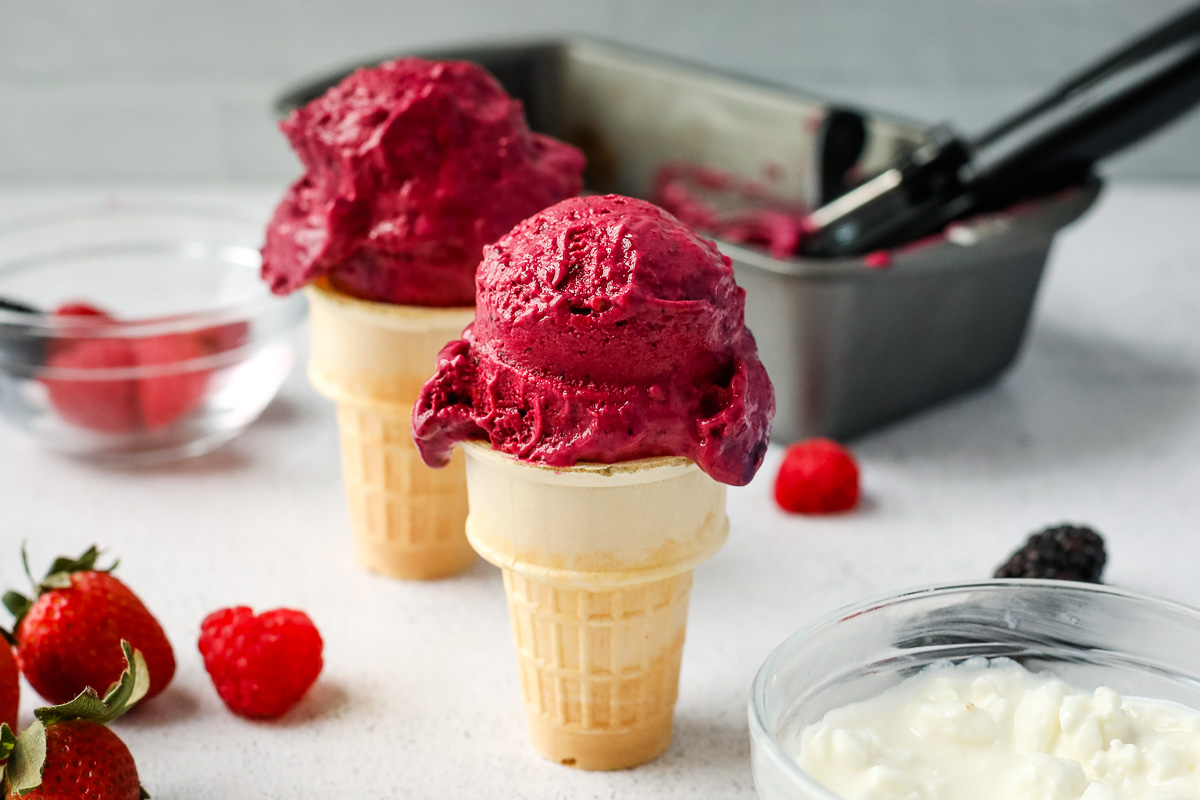
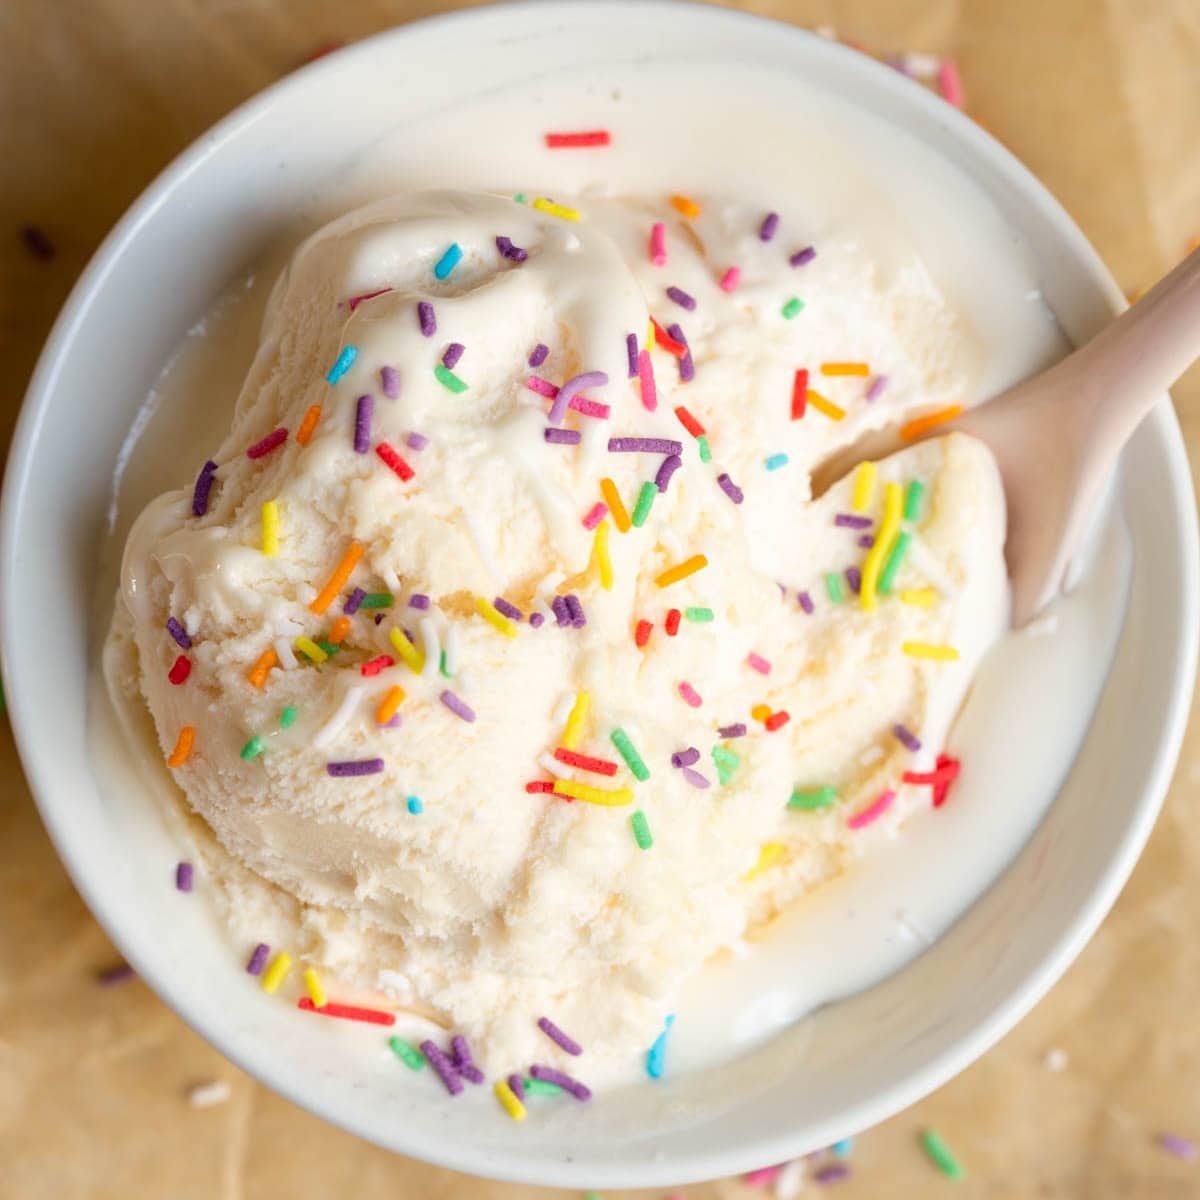
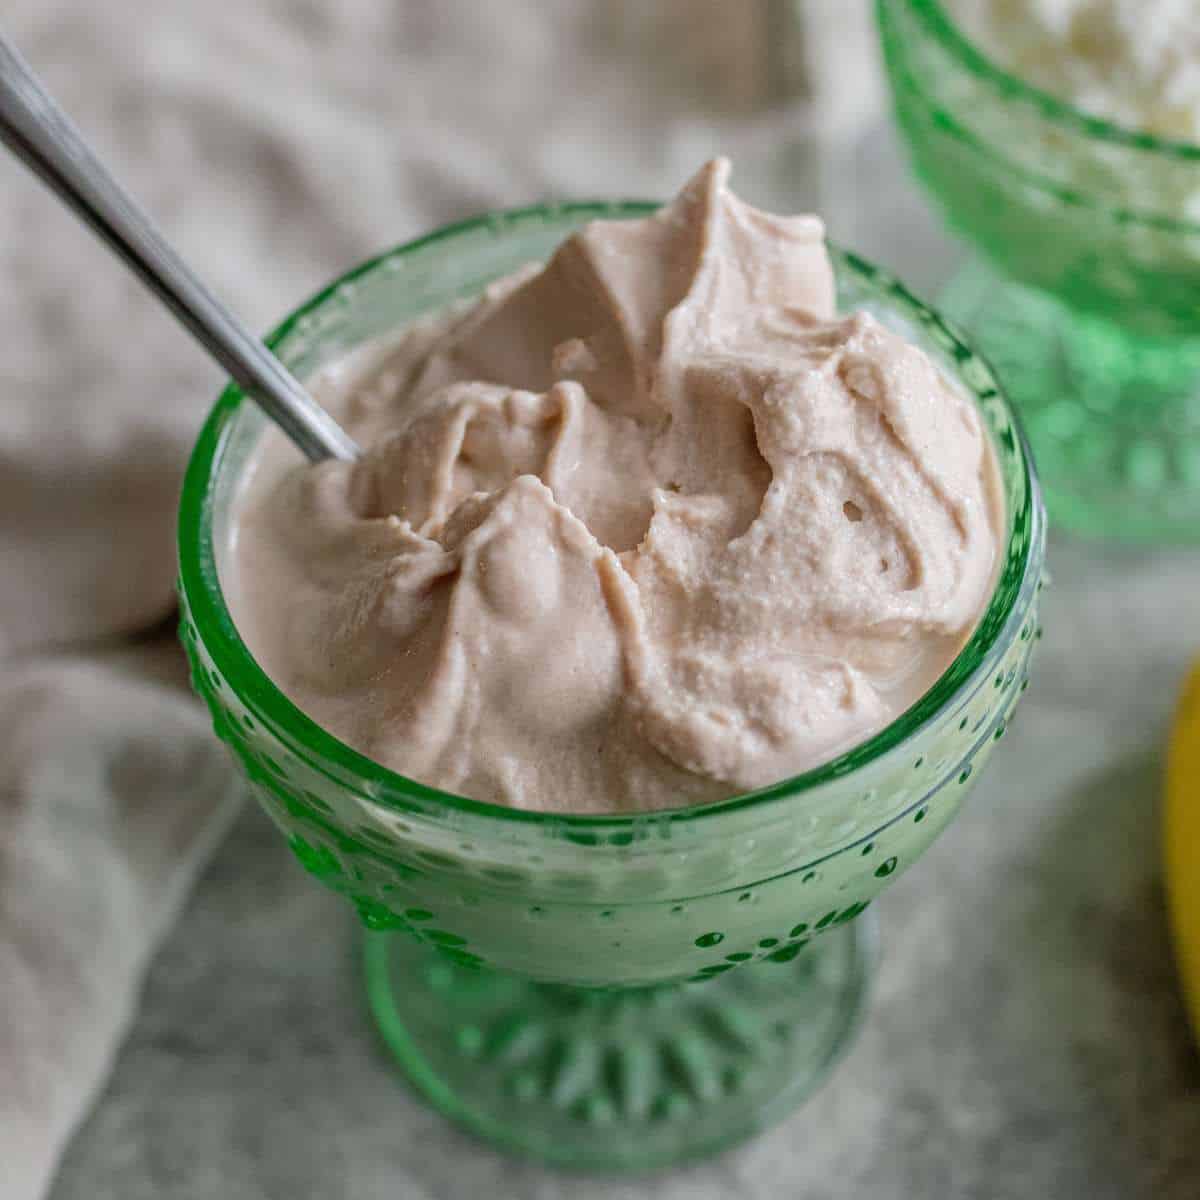
Cool off this summer with refreshing Lemon Lime Green Grape Sorbet. With only 4 ingredients, this recipe is so easy to make! Just combine the ingredients in a blender or food processor, and you have a beautiful dessert or a nutritious snack for the kids ready in seconds!
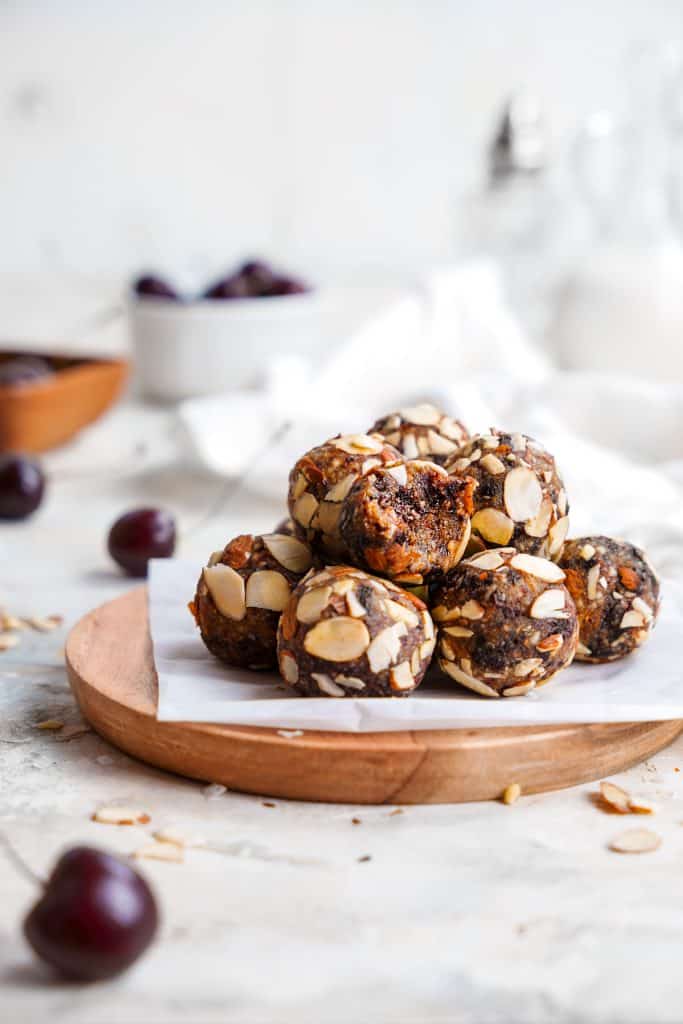
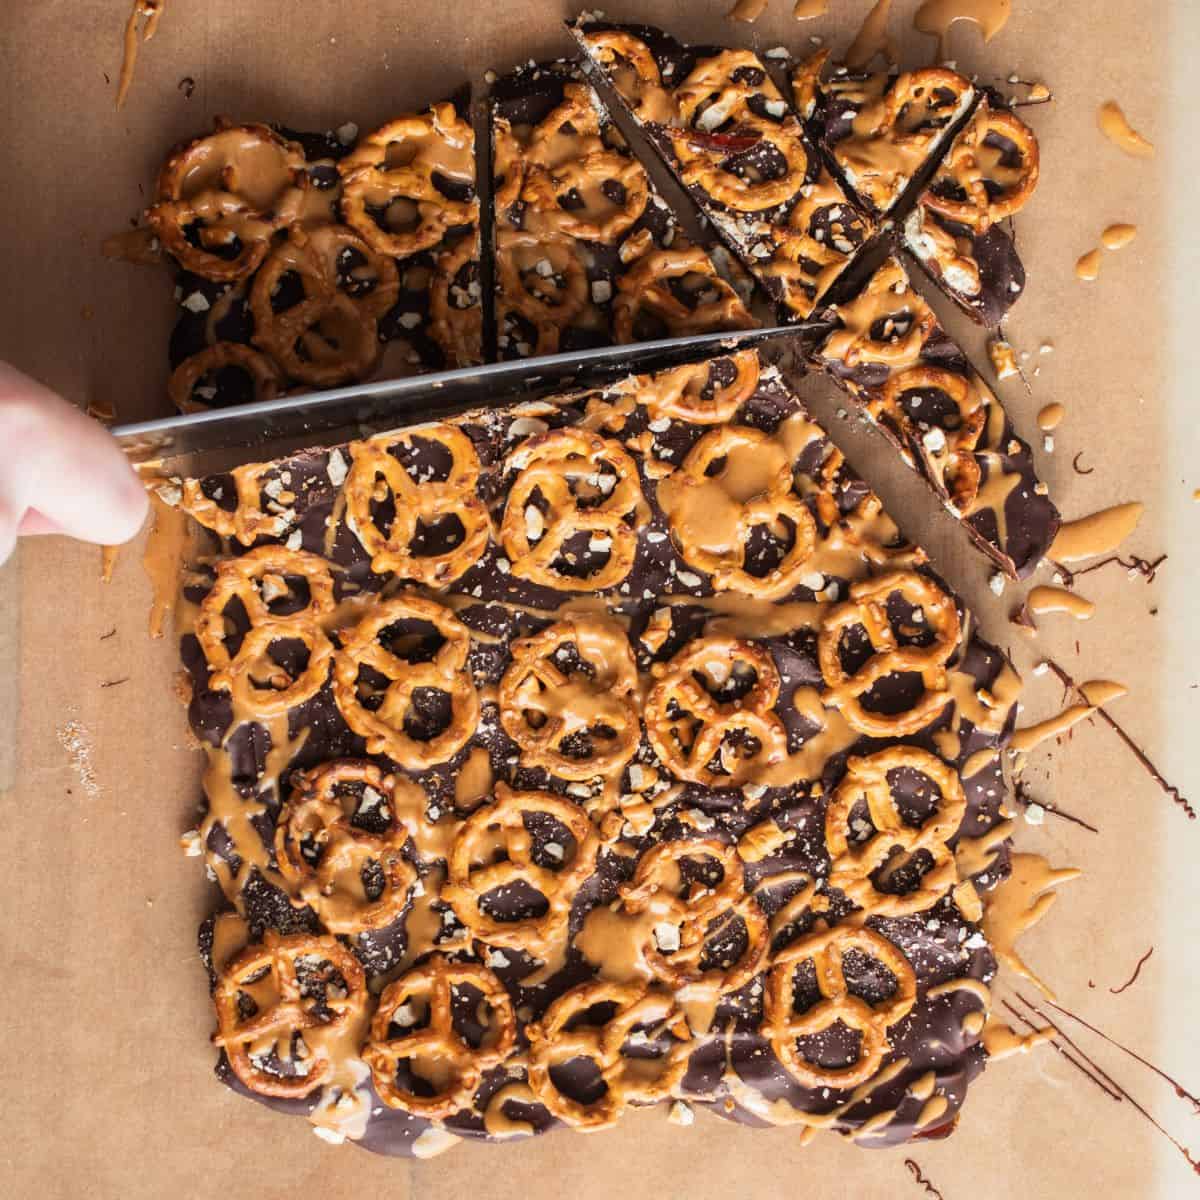
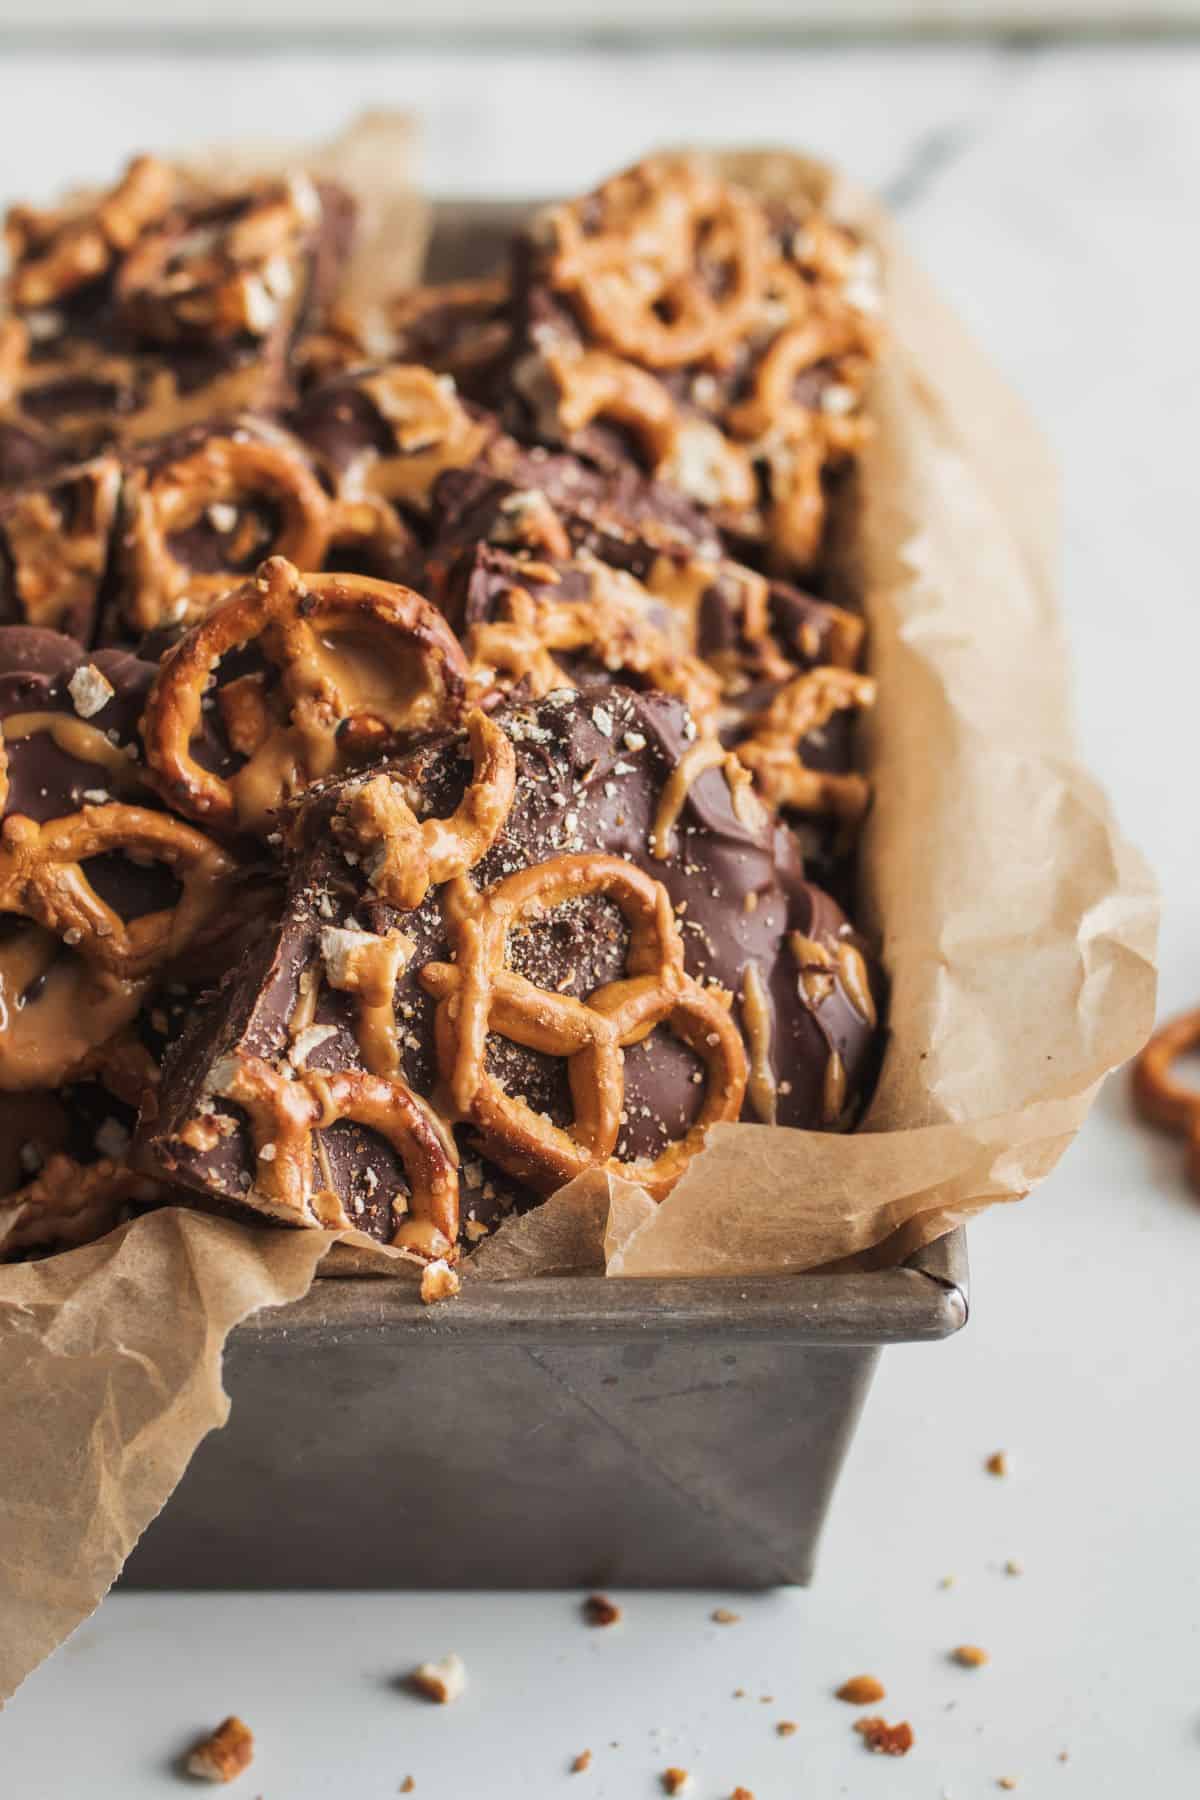
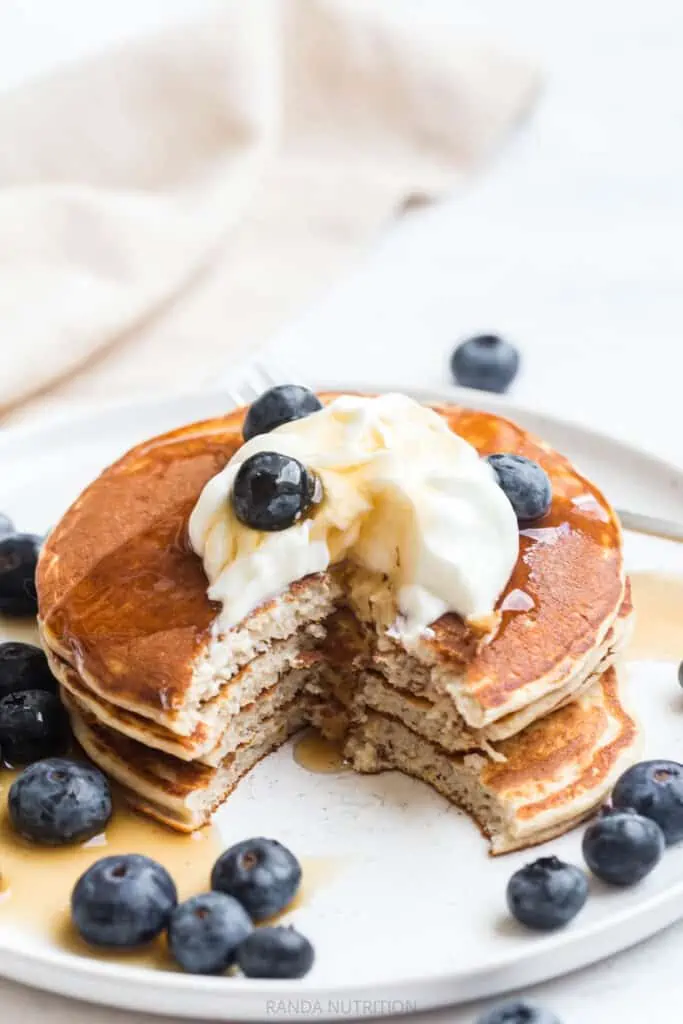
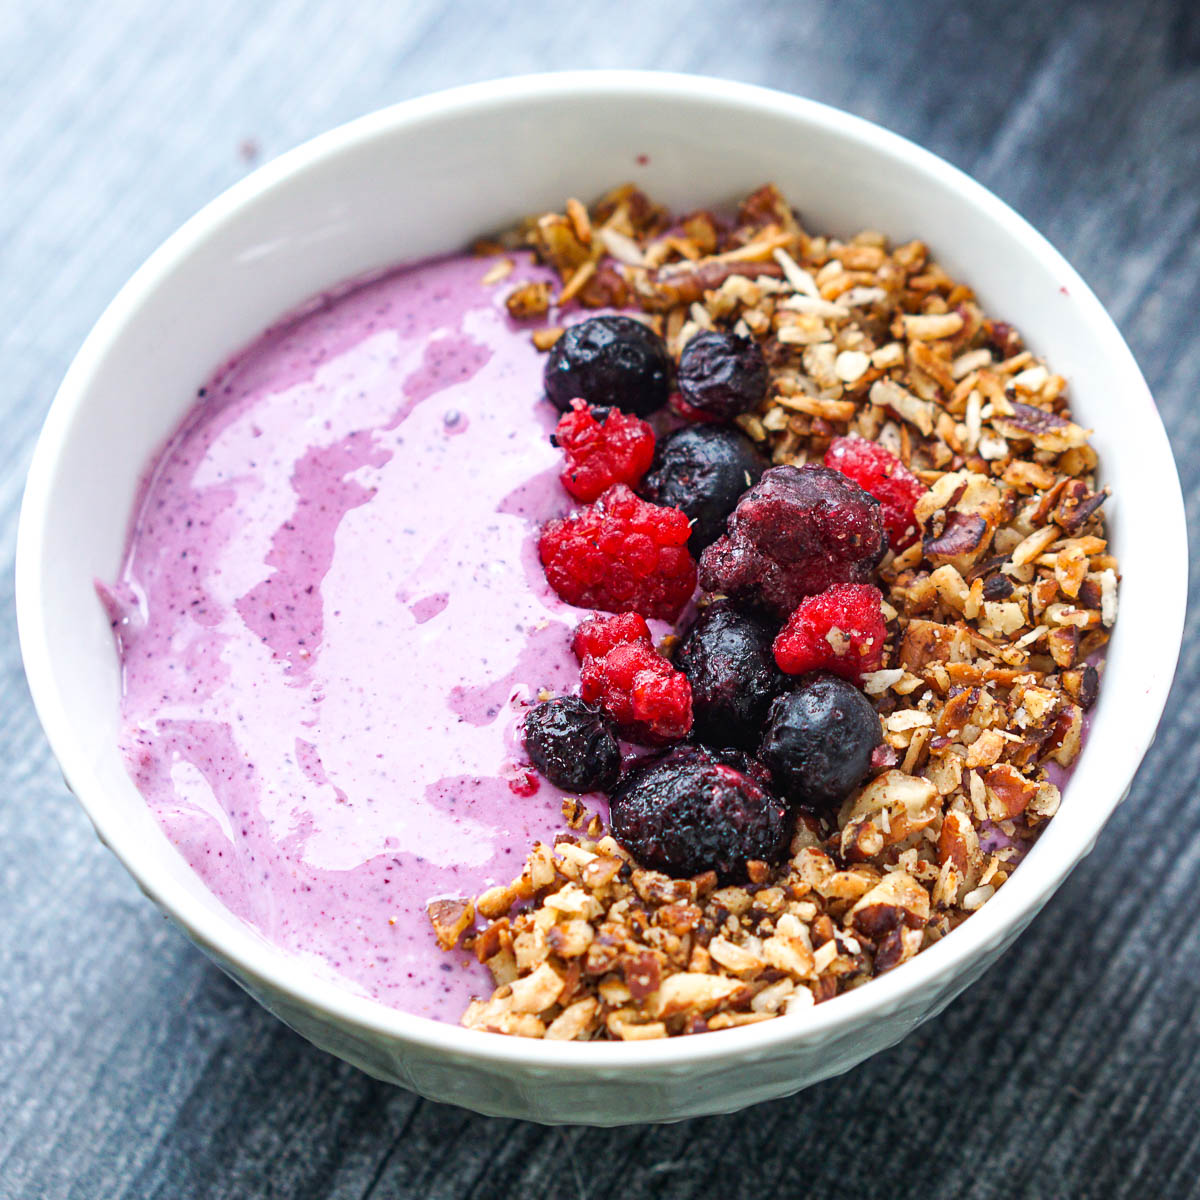
Sweetened naturally with honey, this sorbet is a delicious and healthy way to hydrate and beat the heat. For another easy, refreshing summer dessert, try my Frozen Blueberry Cottage Cheese Bark.

The key to making this sorbet is having frozen grapes ready in your freezer. I find that we don't always finish a package of grapes before they get soft, so I like to freeze a portion right away. They are refreshing to munch on straight from the freezer and will also be ready whenever you decide to make this sorbet.
Why You'll Love This Recipe
- a unique flavour profile that is both tangy and sweet
- a nutritious, naturally sweetened dessert option
- good source of antioxidants and vitamins
- so quick and easy to make
- naturally gluten and dairy free
- hydrating and cooling
- great as a snack, dessert or palate refresher between courses
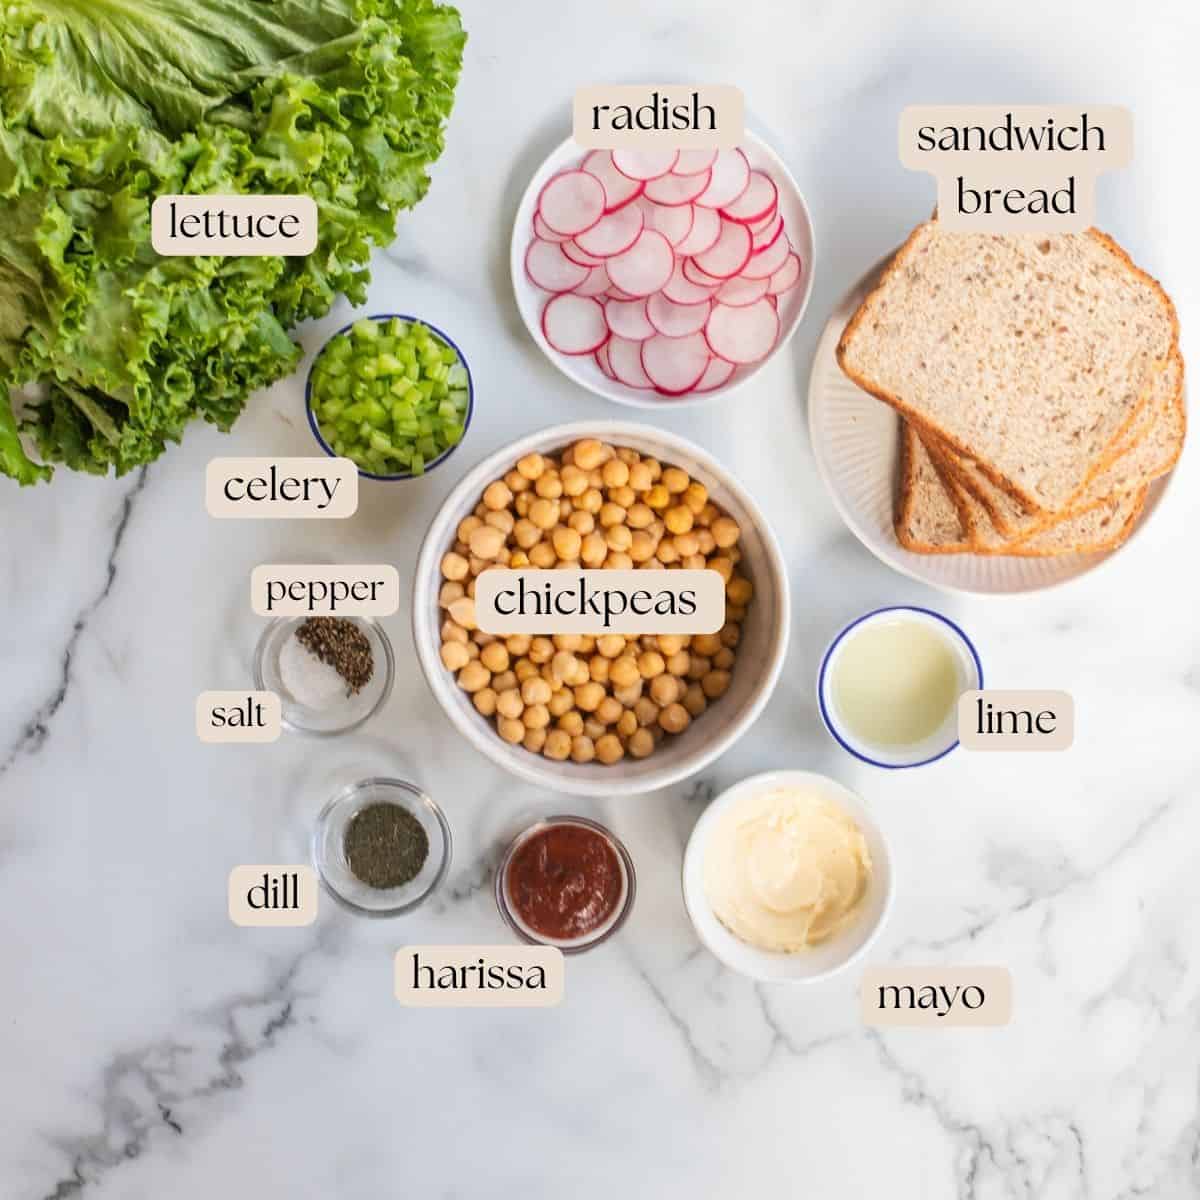
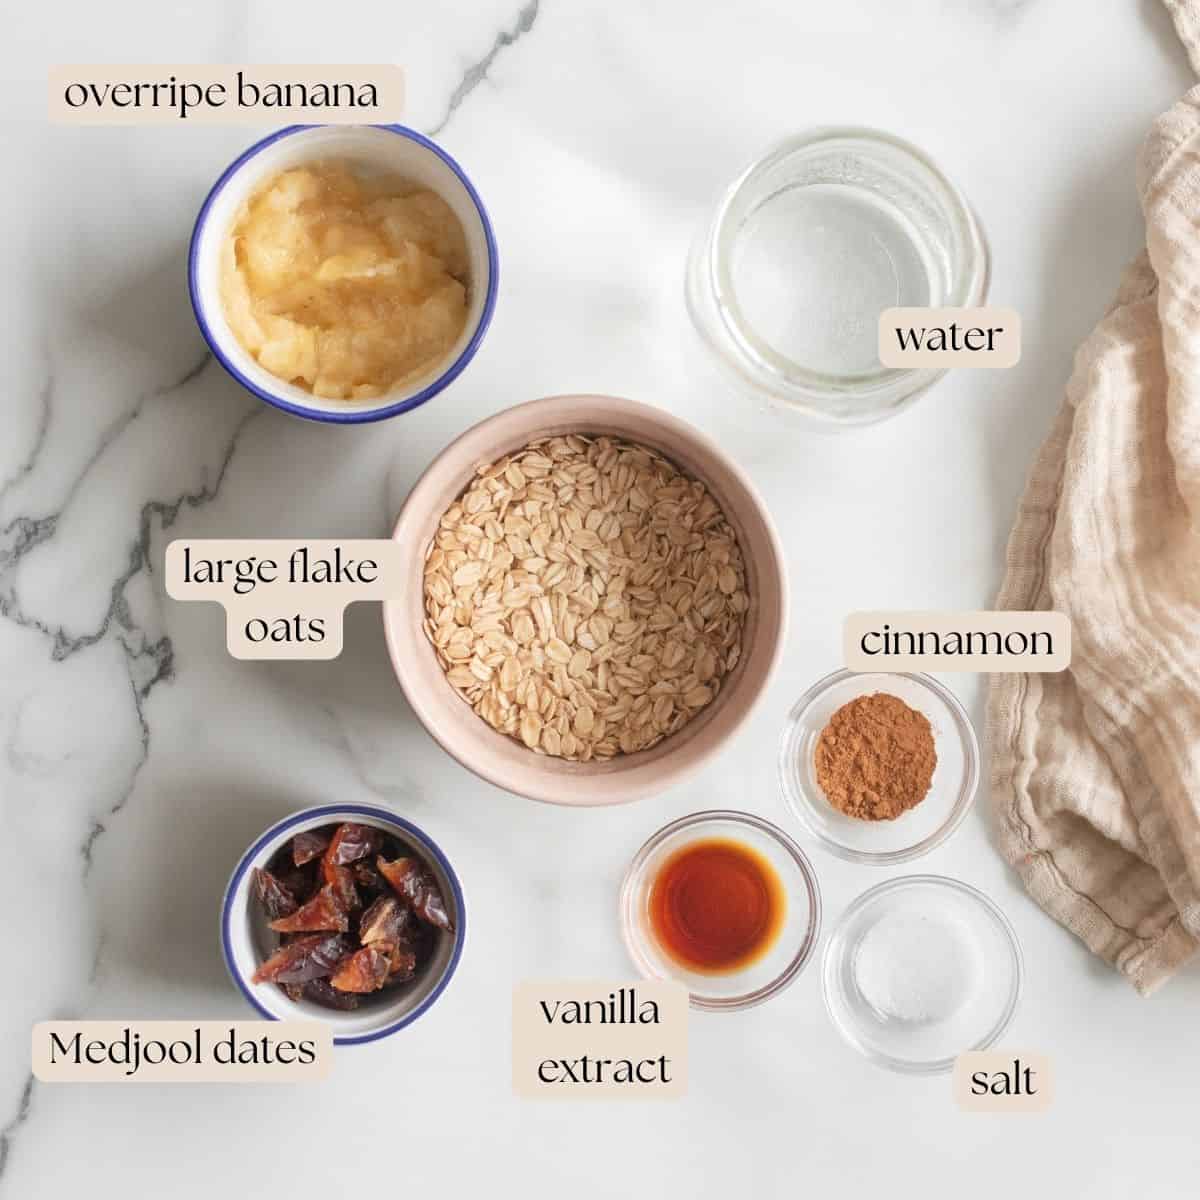
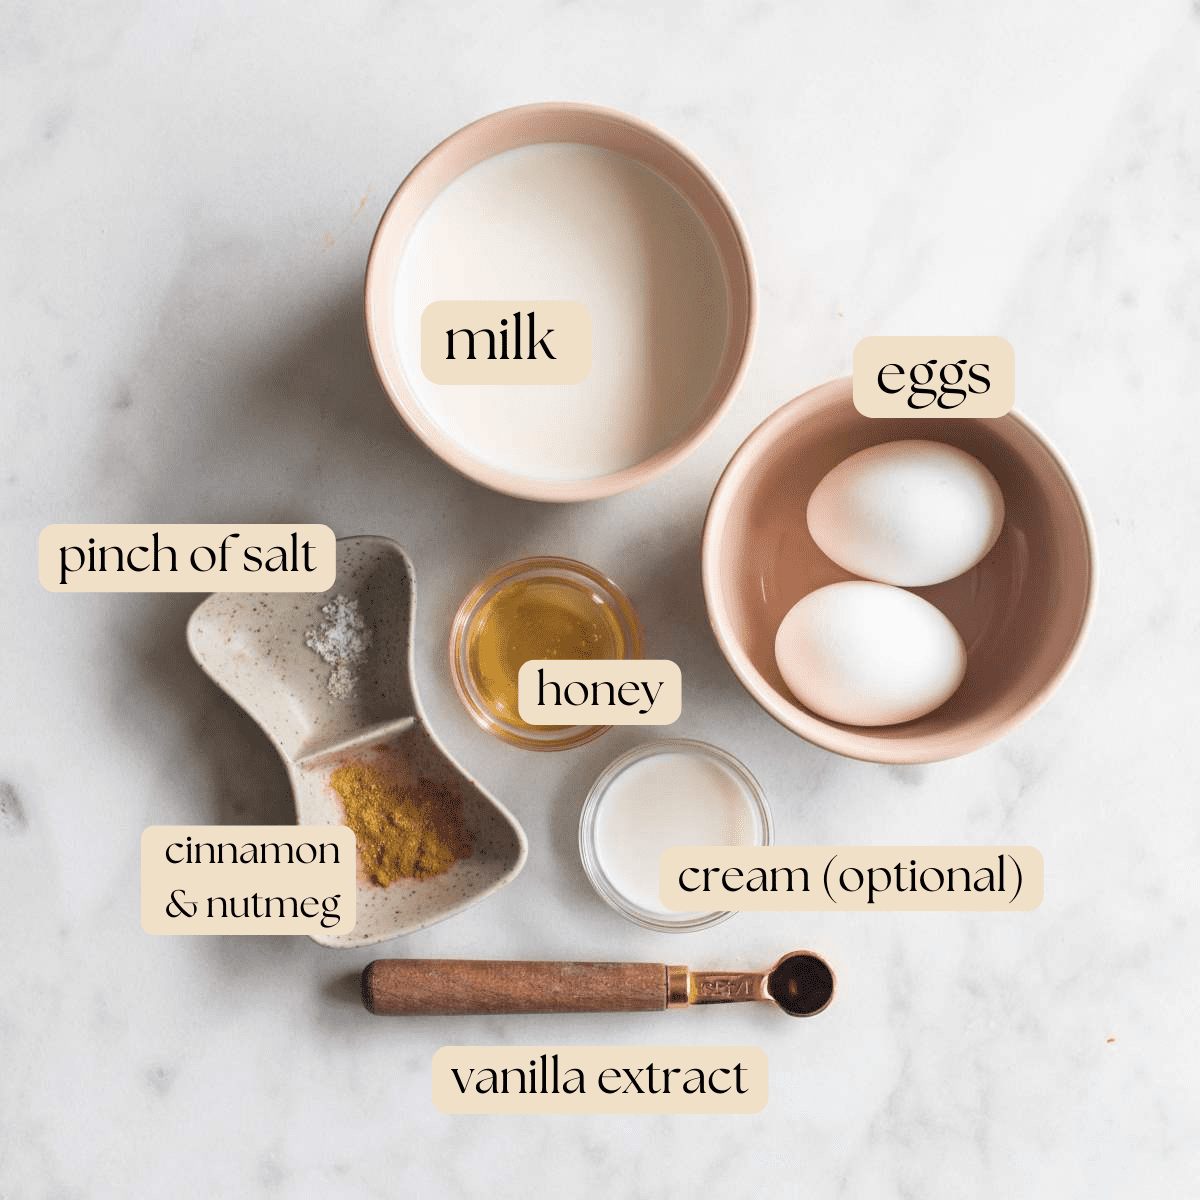
Ingredients

- frozen green grapes - keep grapes in your freezer for snacking and making sorbet!
- honey - provides natural sweetness and has beneficial antioxidants
- lemon and lime - adds a natural tanginess and complex flavour to complement the sweetness of the honey and grapes
See the recipe card below for a full list of ingredients and measurements.
Substitutions & Variations
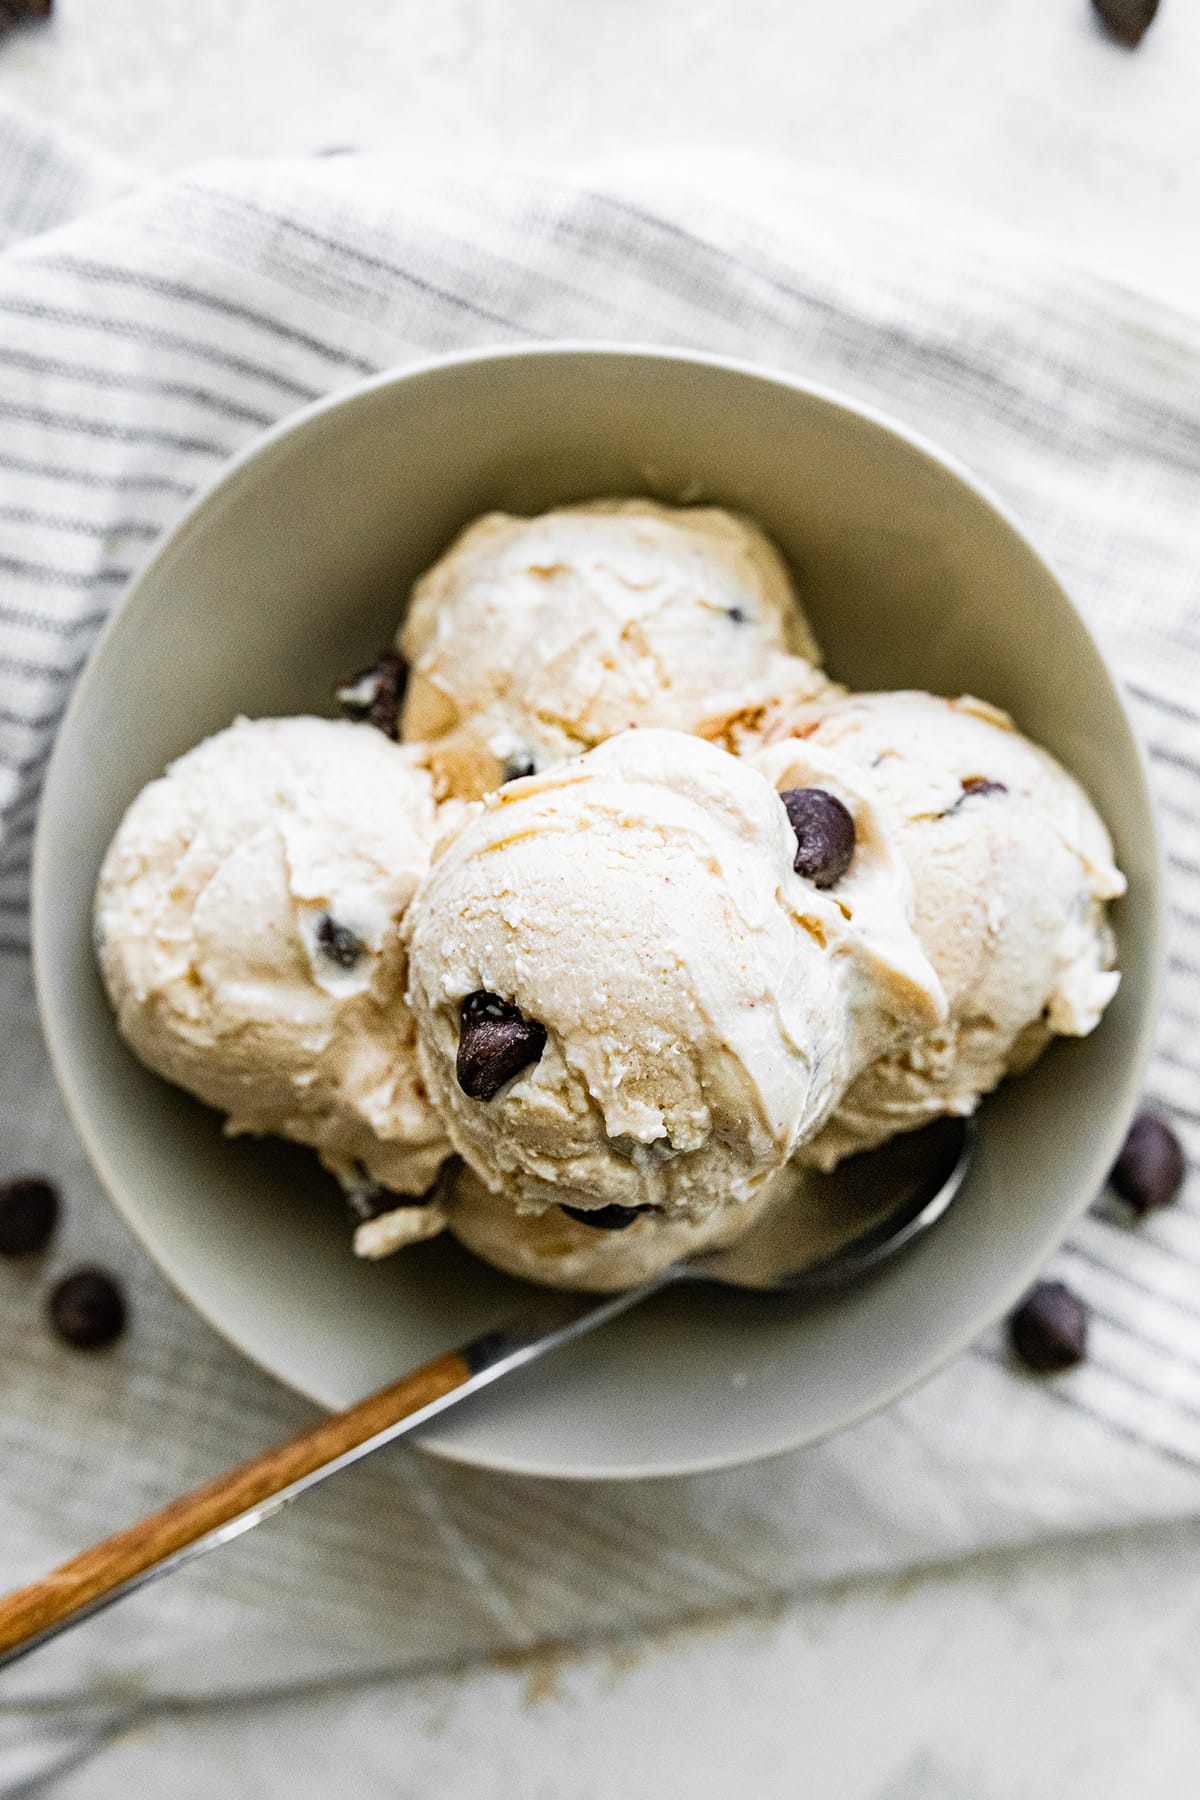
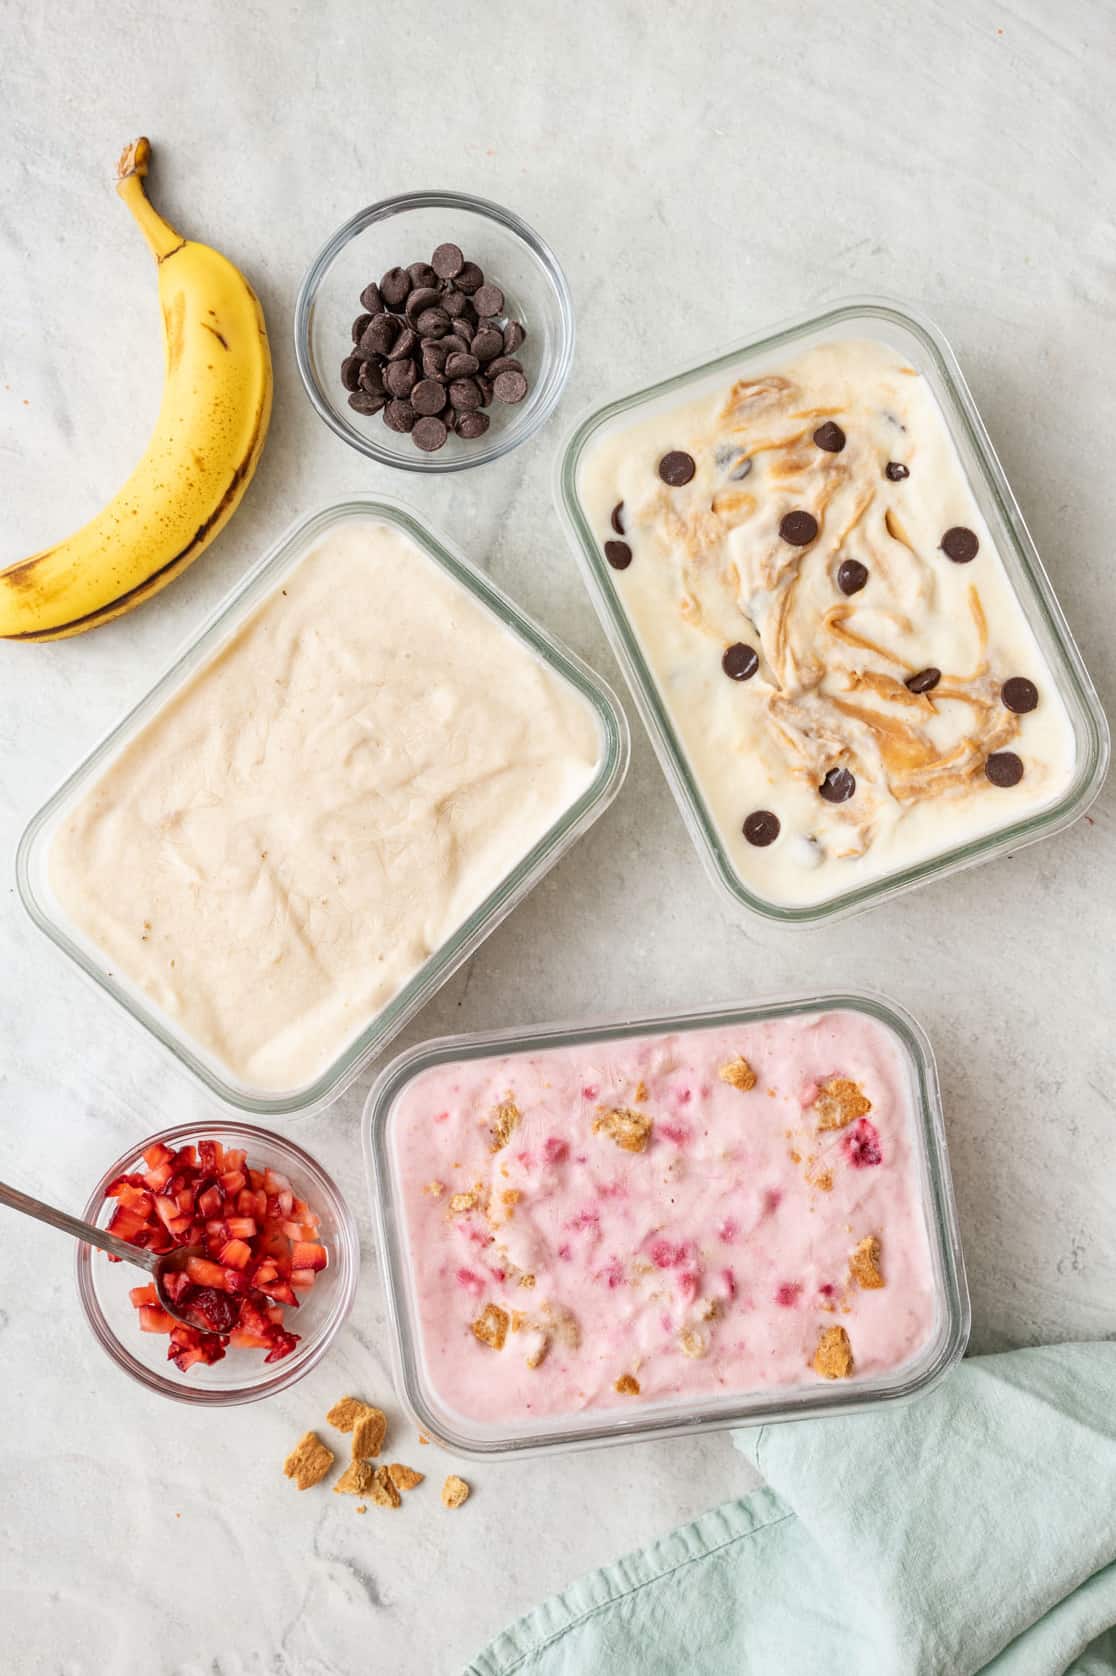
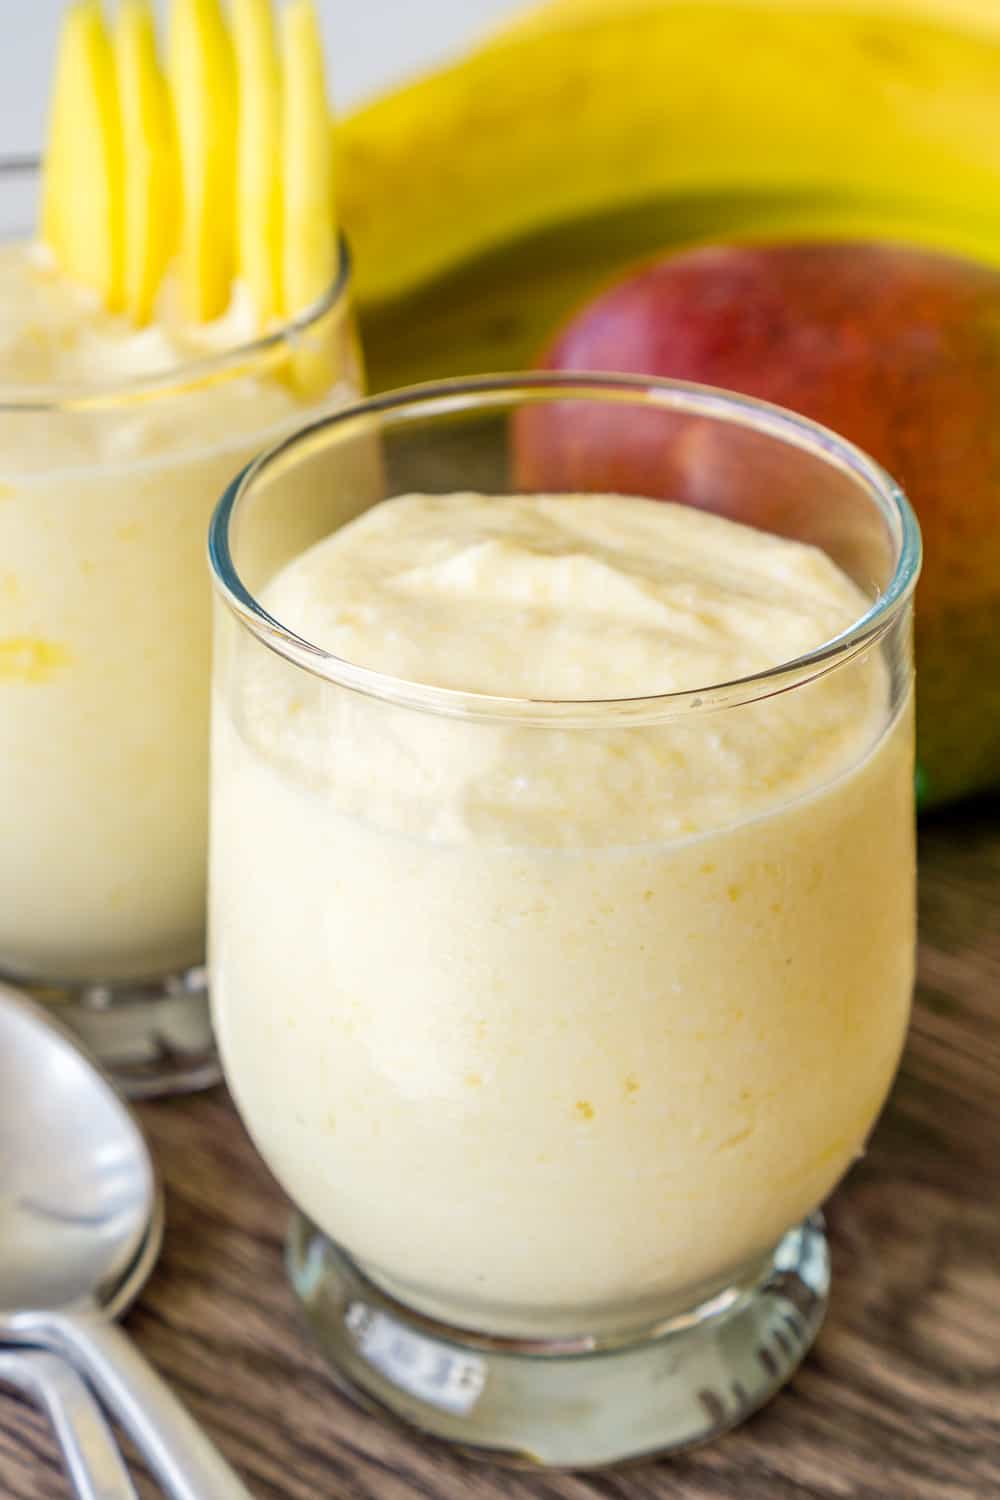
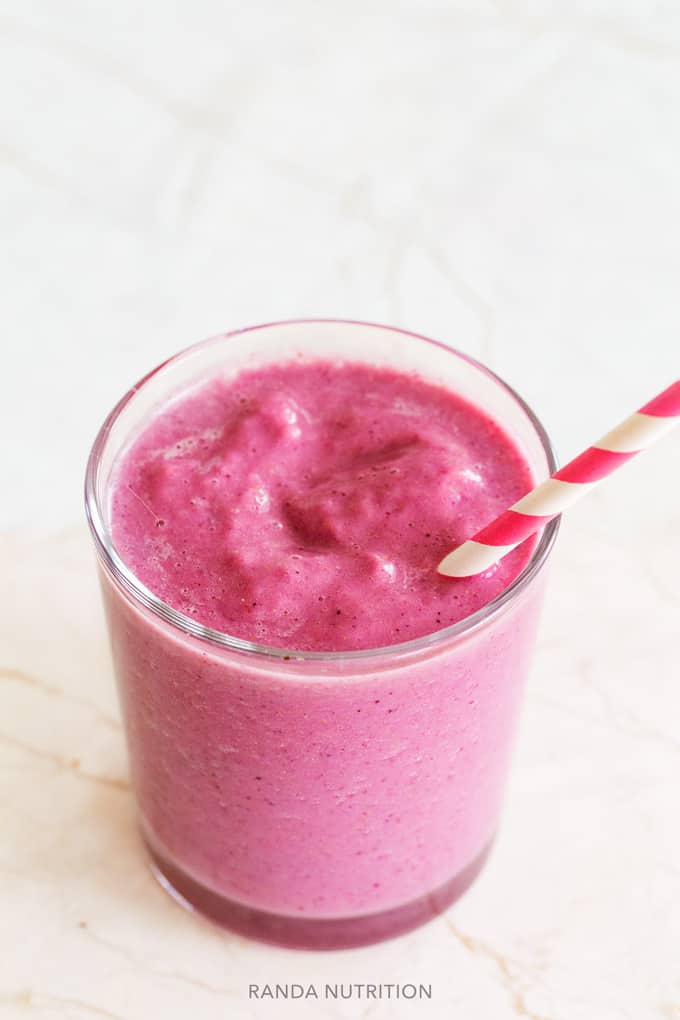
- you can substitute other frozen fruits such as blueberries, mango, strawberries or raspberries for the grapes for a different flavour profile
- try maple syrup instead of honey for sweetening to make this recipe vegan friendly
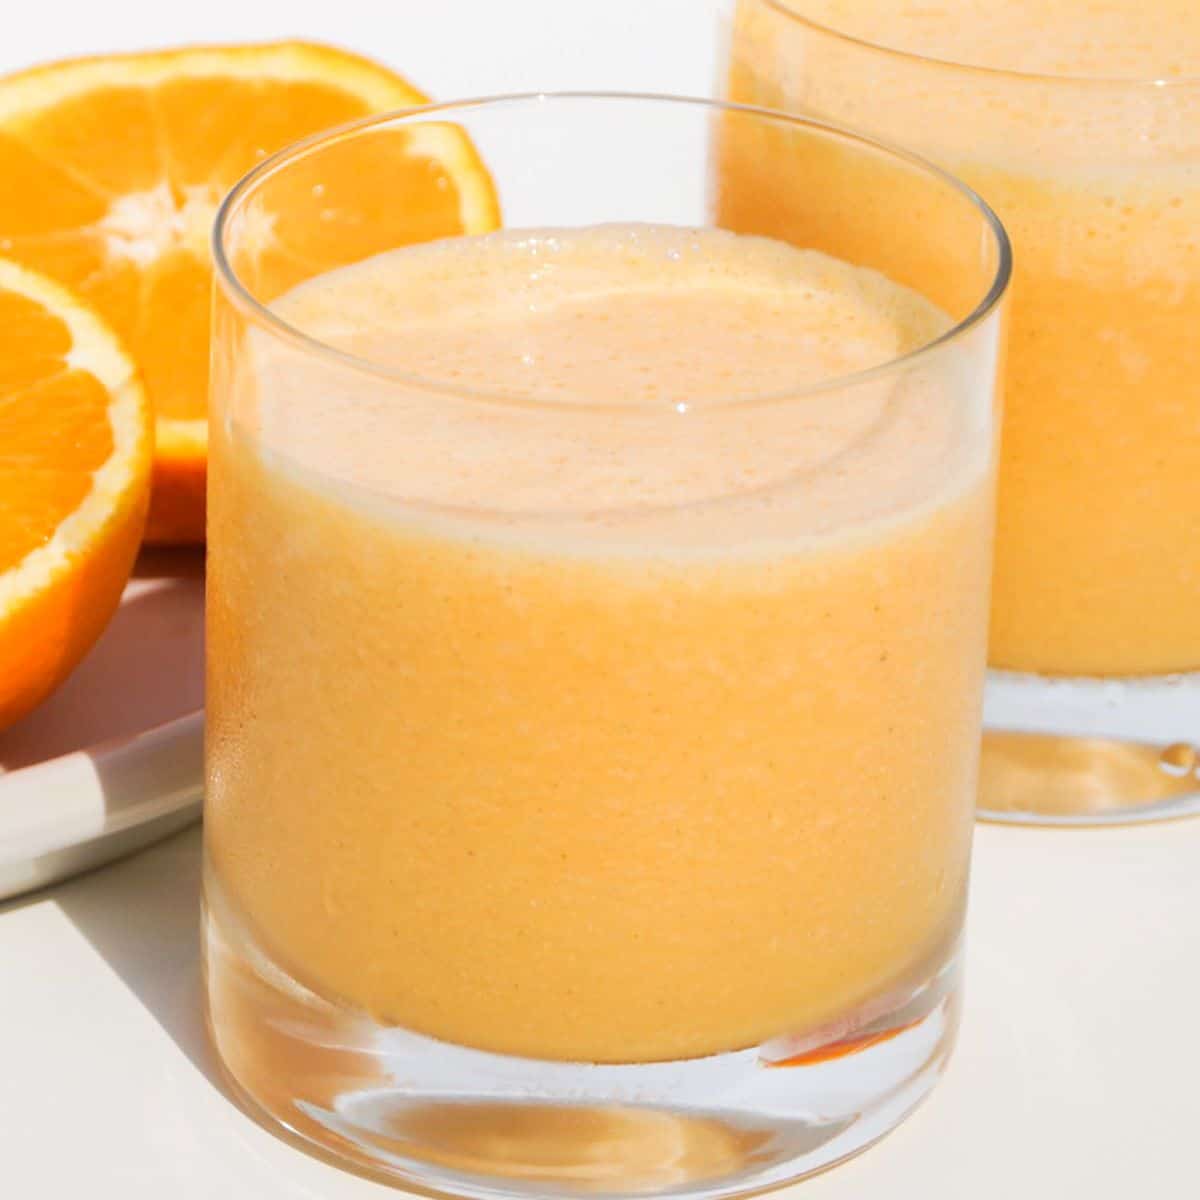
- you can use only lemons or only limes or even orange juice to vary the citrus element
- try adding mint leaves to the blender to add a minty flavour
- add a splash of coconut milk for a creamy, tropical twist.
I have not experimented with any other substitutions or alterations for this recipe. If you decide to make any changes by adding or substituting ingredients, I would love it if you could share your results with us by leaving a comment below.
How To Make Green Grape Sorbet
Here are the step-by-step instructions to make this recipe.
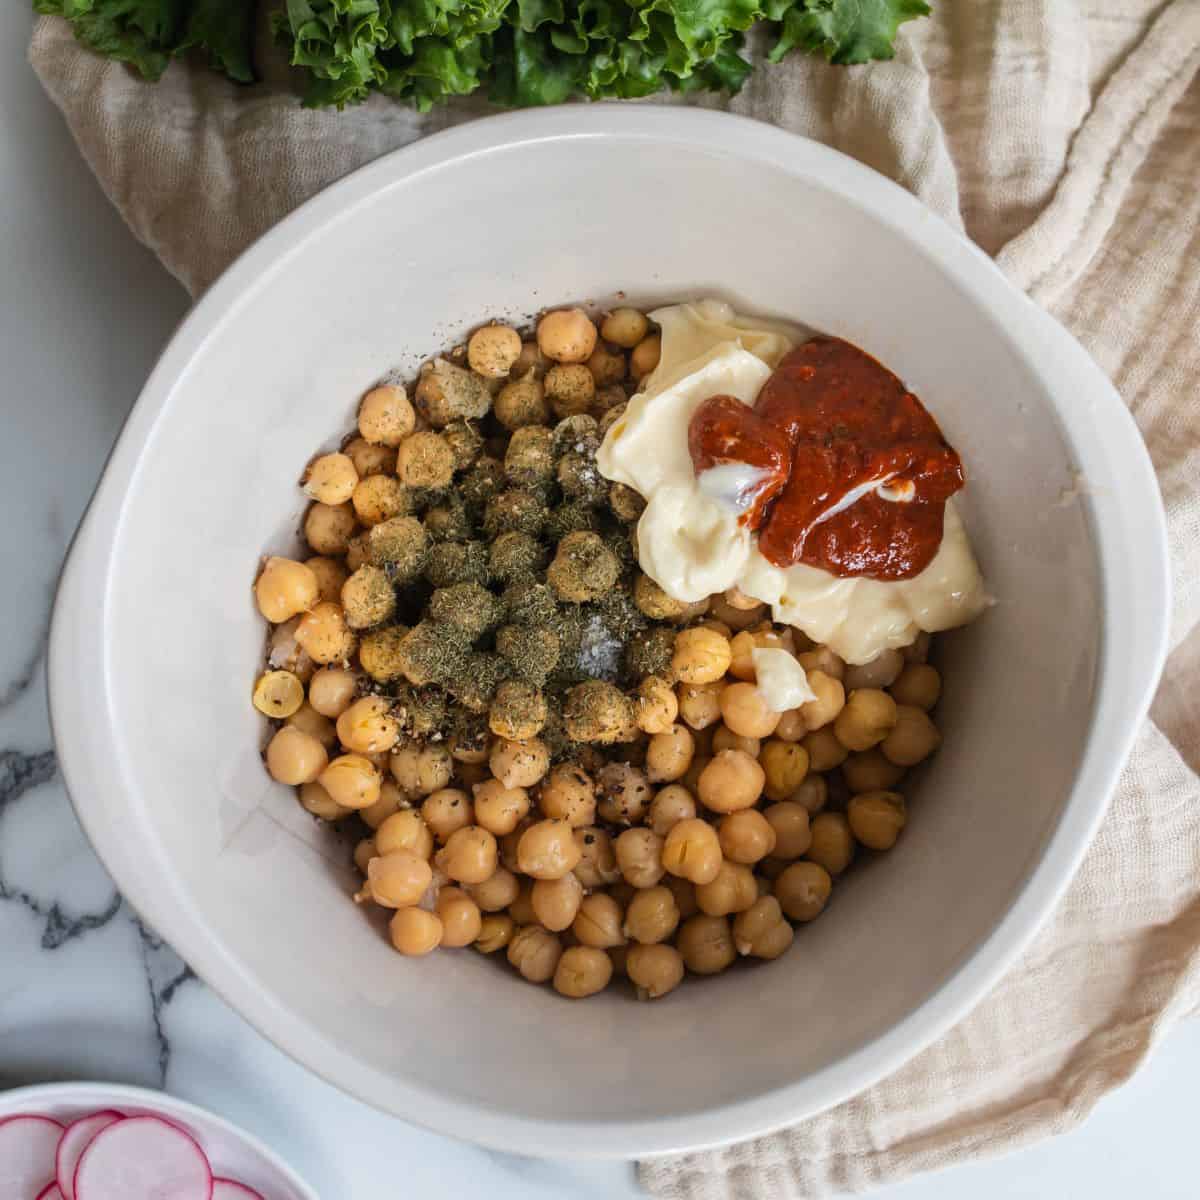
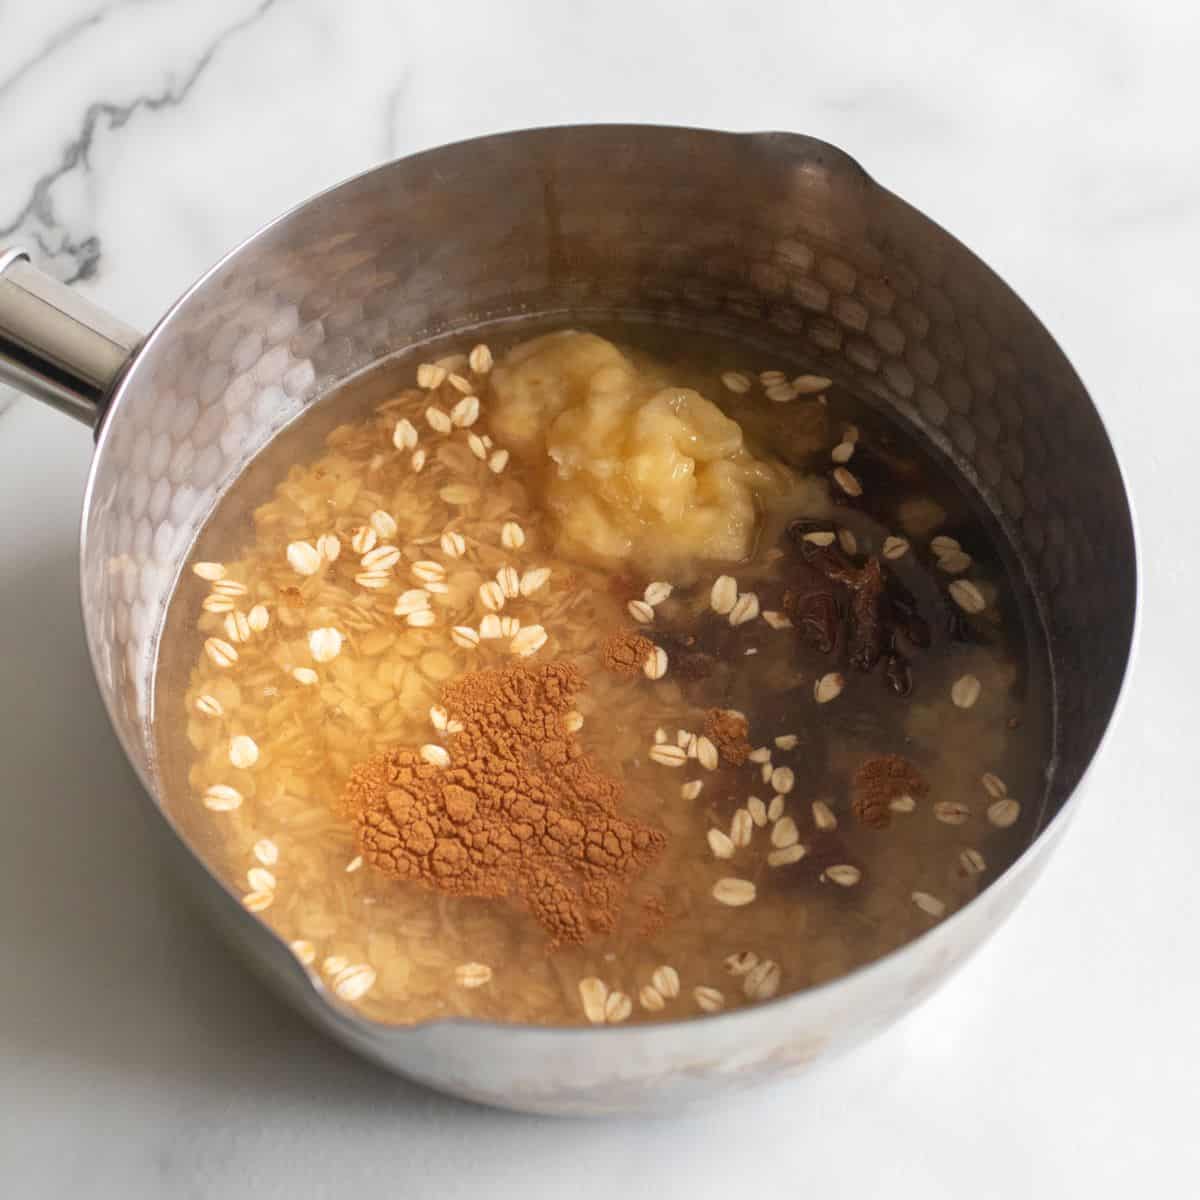
Step 1: Combine all ingredients.
Once your grapes are thoroughly frozen, add them to a blender or food processor along with the lemon and lime zest and juice and the honey.

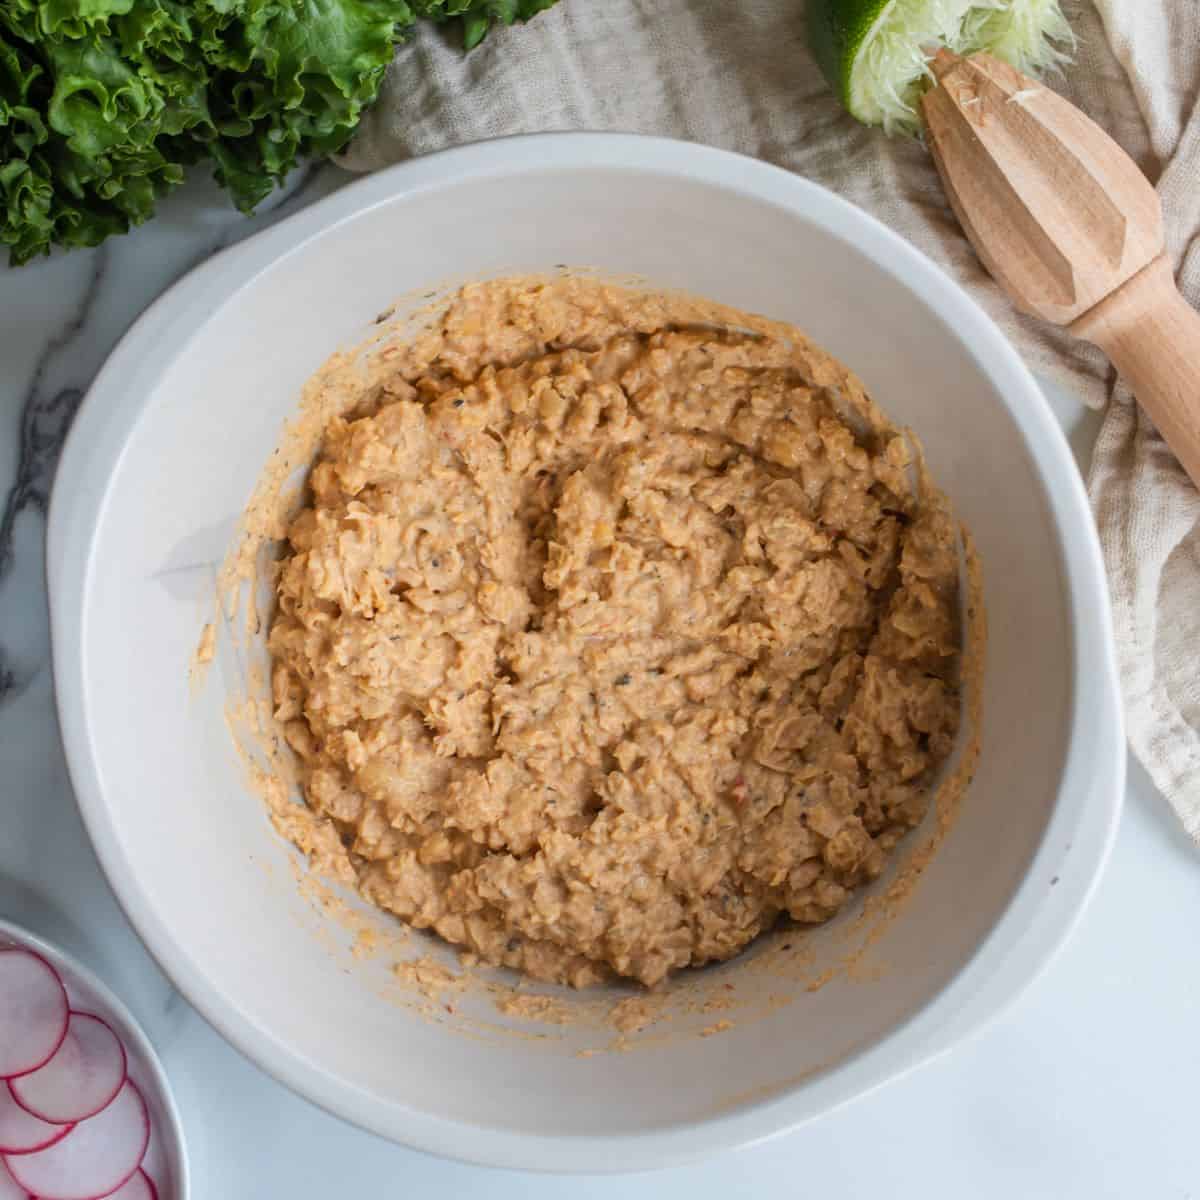
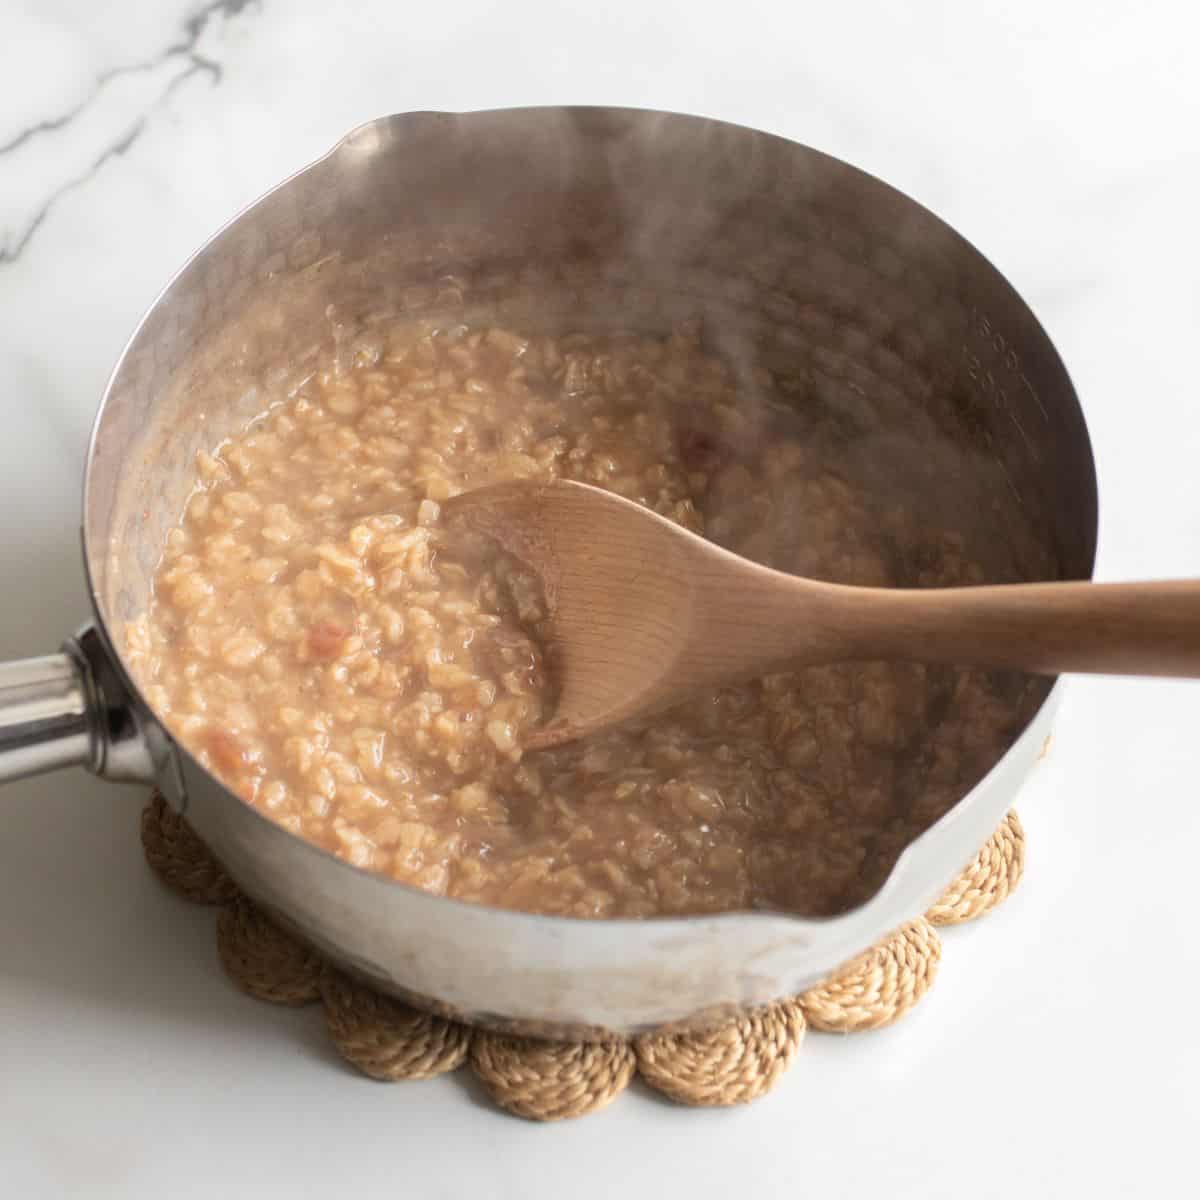
Step 2: Blend ingredients.
Blend the ingredients together, stopping every 30 seconds or so to give your machine a break. Blend until the mixture is smooth and the consistency of sorbet.

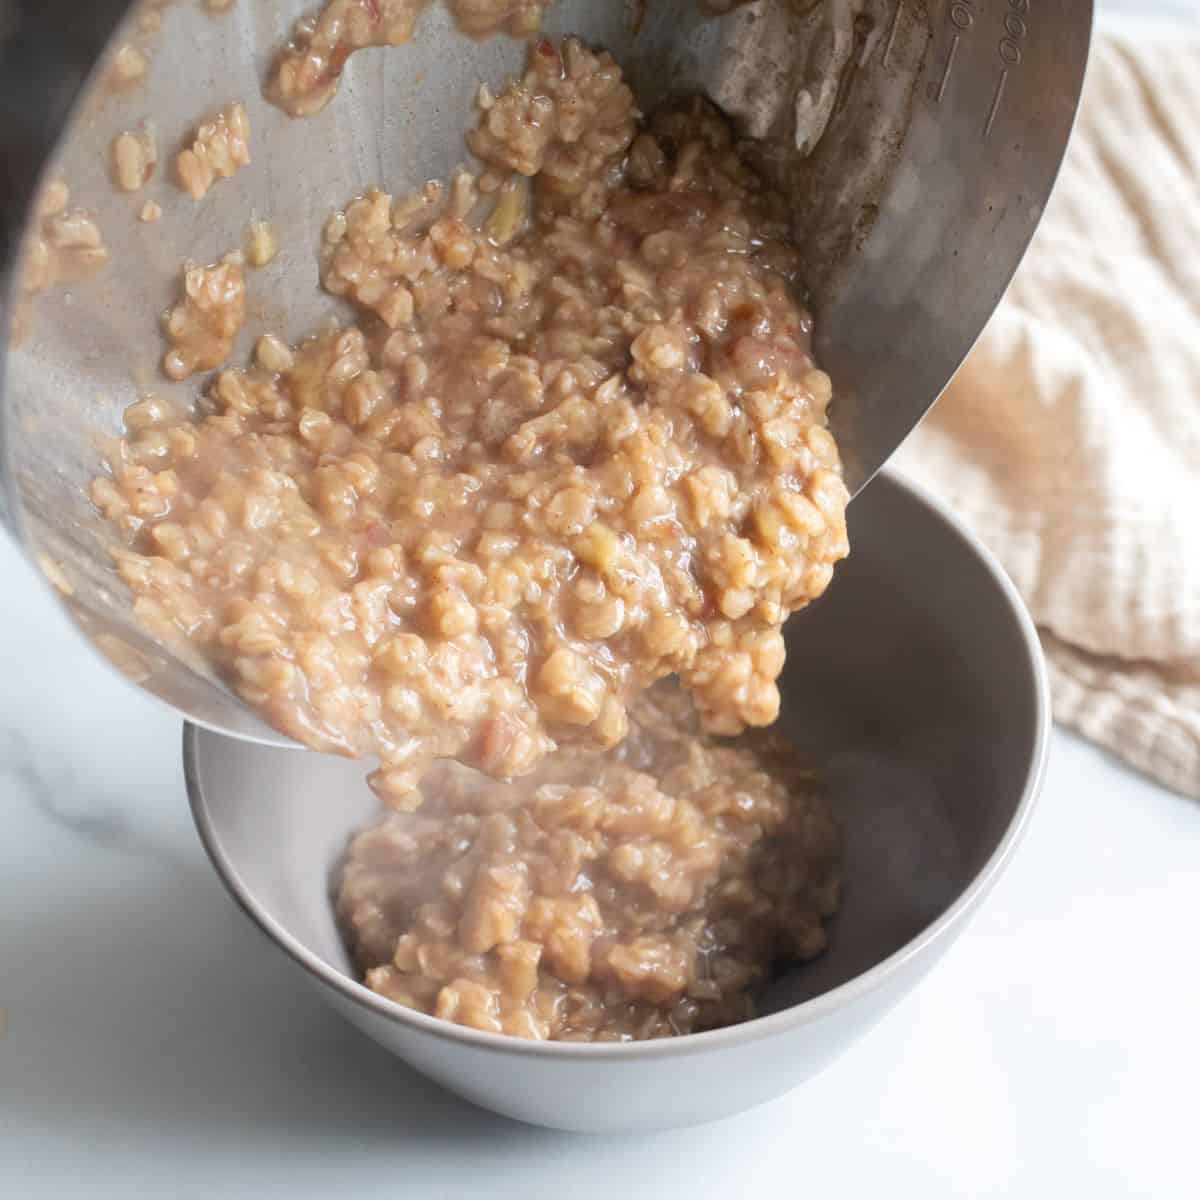
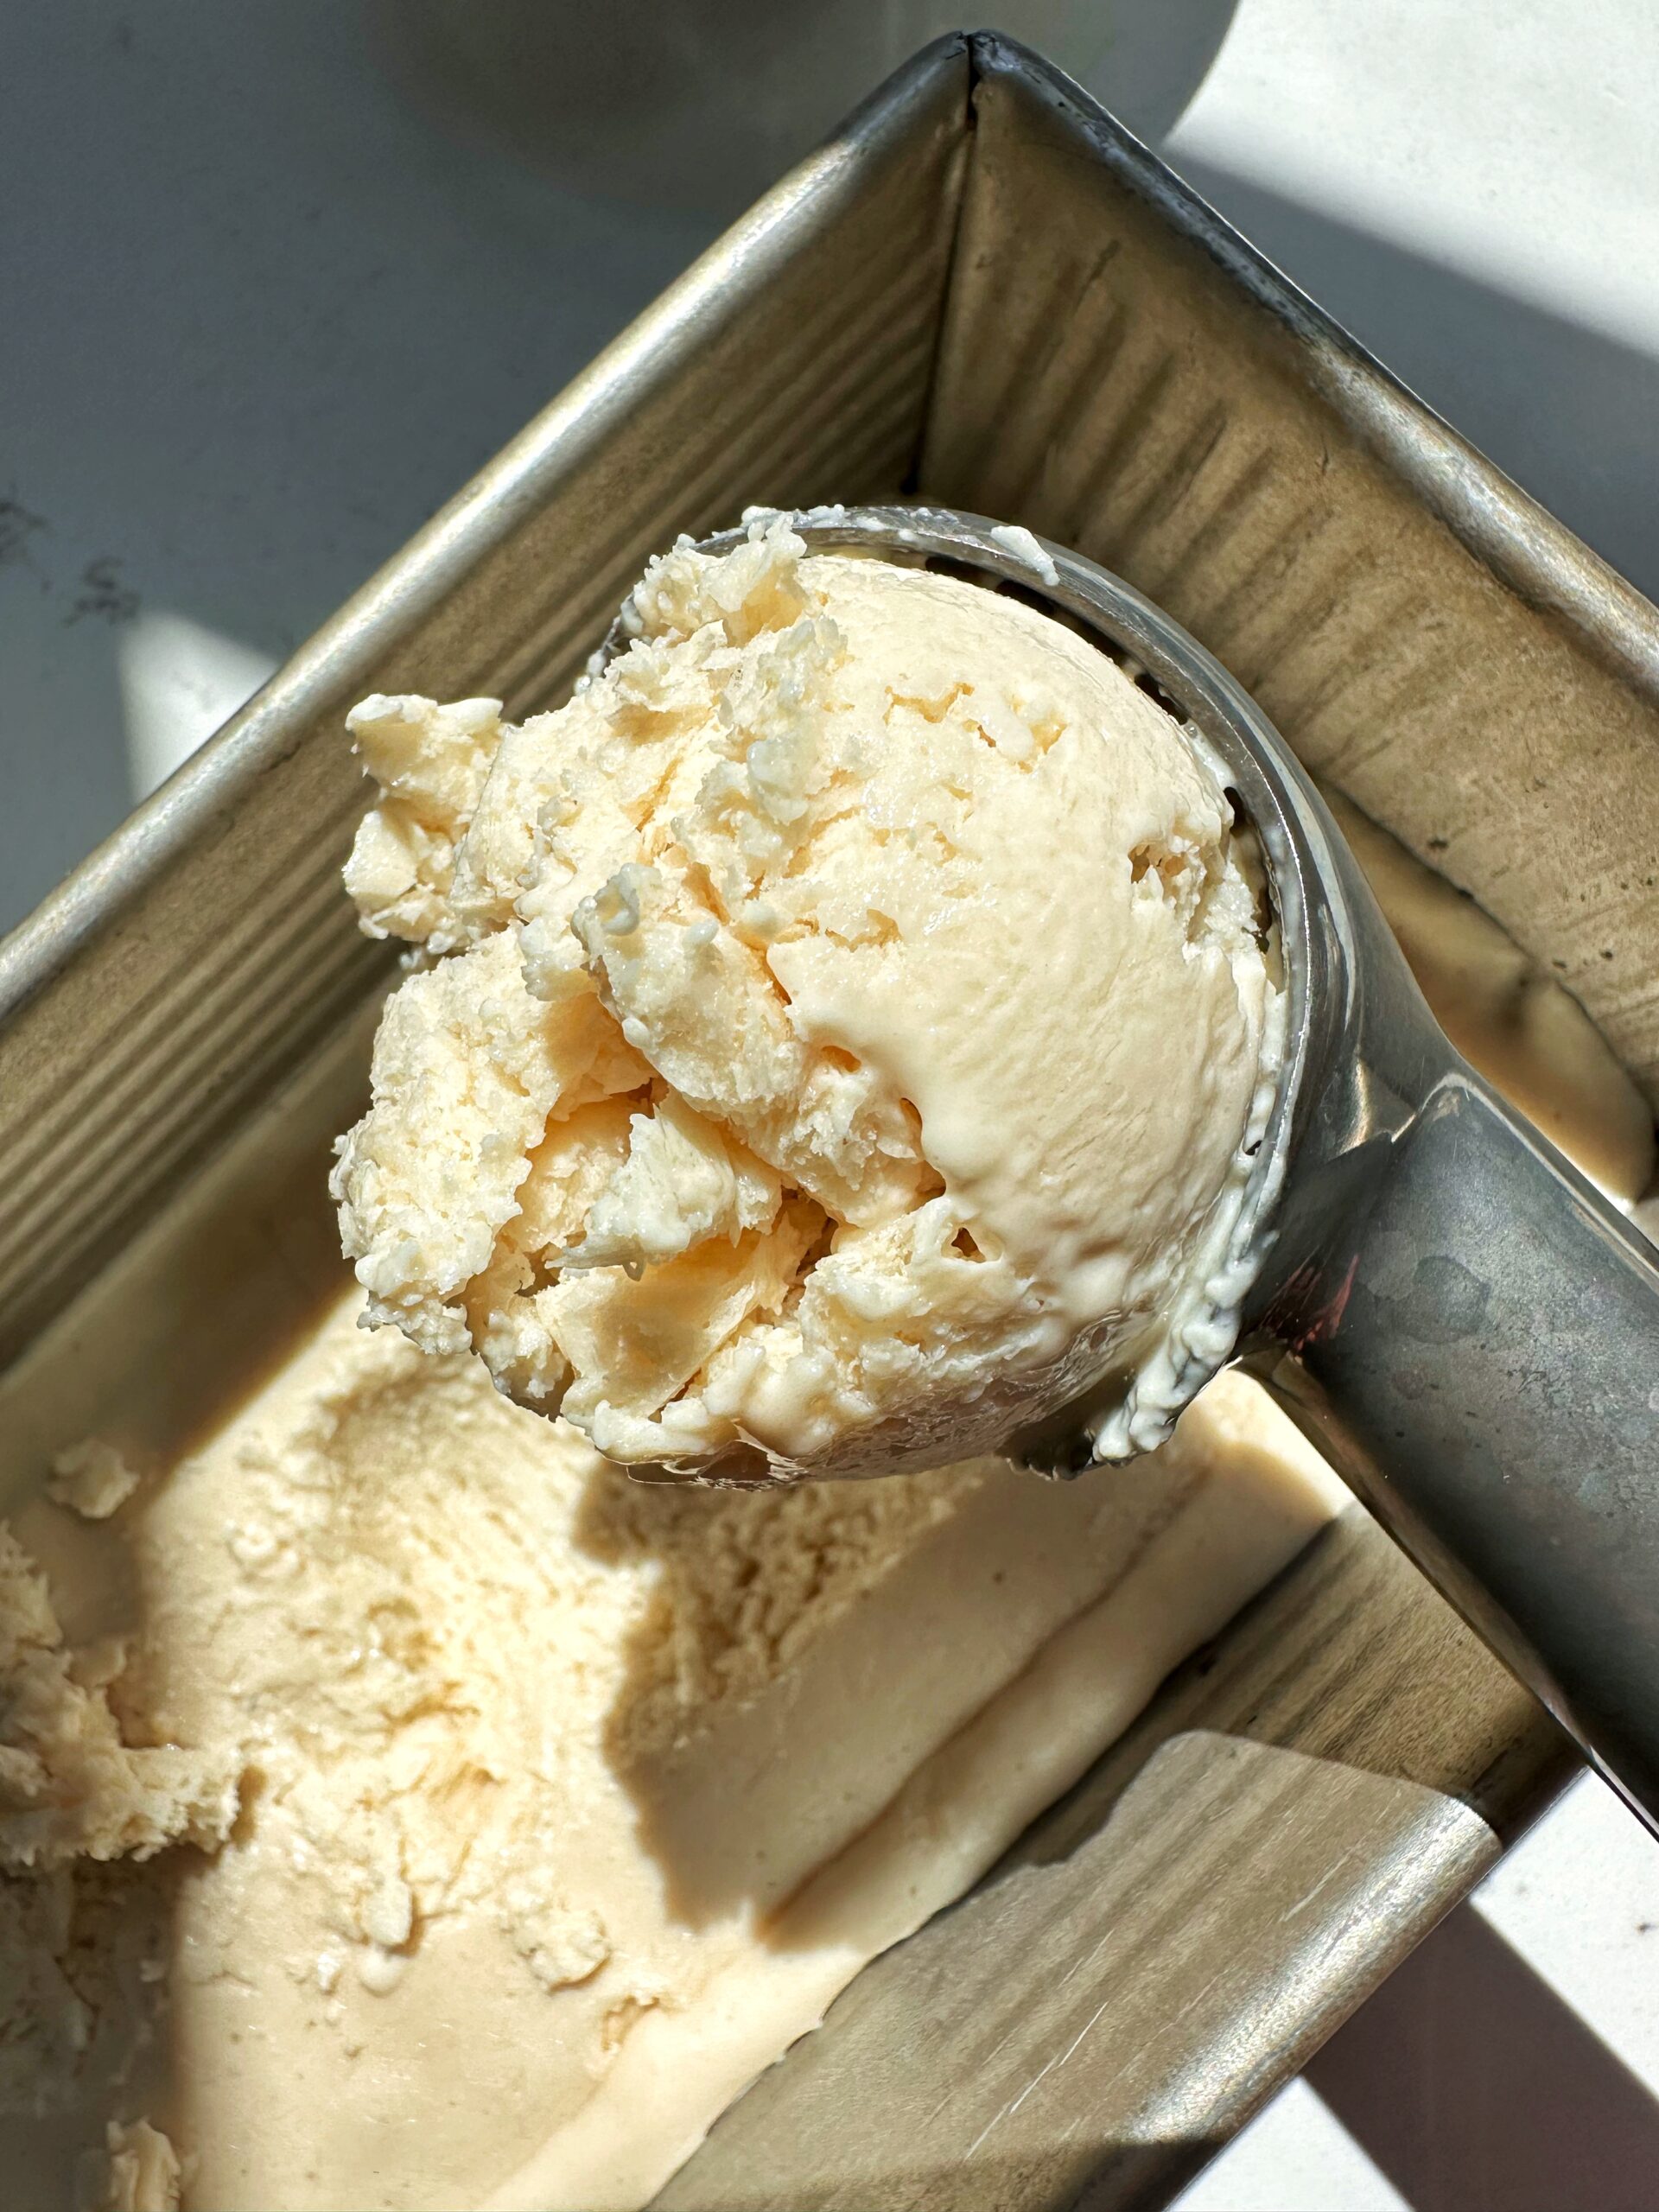
Step 3: Enjoy now or freeze for later.
You can enjoy immediately or pour the mixture into a freezer safe container or loaf pan.

Step 4: Cover well and freeze.
To achieve a firmer scoopable consistency or to enjoy later, cover the sorbet well and freeze until ready to serve.

Step 5: Scoop and enjoy!
Pull the sorbet out of the freezer a few minutes before serving to make it easier to scoop. Serve in bowls or on cones.

Expert Tips
- Wash your fruit well before using.
- When zesting the lemons and limes, avoid the white pith as it can be bitter.
- Bring the sorbet out of the freezer a couple of minutes before serving to make scooping easier.
- You can enjoy immediately or pour the mixture into a freezer safe container or loaf pan.
- Pause your food processor occasionally when blending so you don't overwork the motor.
- Keep some frozen grapes in your freezer for snacking and making this sorbet when the mood strikes.
Recipe FAQs
Yes, you can try agave syrup, maple syrup or sugar. Each will give a slightly different flavour profile to the sorbet.
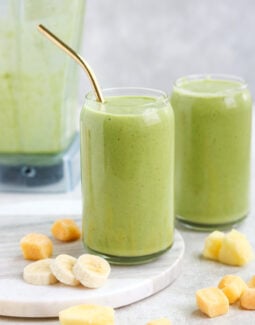
Yes, it would be fun to try other frozen fruits such as strawberries, raspberries, mango and banana to either replace or add to the grapes. Just be sure the total amount matches what is recommended in the recipe. A great way to use up the frozen fruit in your freezer.
This sorbet is naturally gluten and dairy free. To make it suitable for a vegan diet, just substitute the honey for agave or maple syrup.
Lemon Lime Green Grape Sorbet will keep in the freezer for up to 2-3 months if stored properly. Be sure to use an airtight, freezer safe container. It is helpful to lay plastic wrap directly onto the sorbet before covering to help avoid ice crystals from forming. Mark the date on the container to help you remember when you placed it in the freezer.


If you tried this Lemon Lime Green Grape Sorbet or any other recipe on my website, please leave a 🌟 star rating and let me know how it went in the 📝 comments below. I love hearing from you!
Recipe

Lemon Lime Green Grape Sorbet
Ingredients
- 4 cups green grapes frozen
- 1 tsp lemon zest
- 1 tbsp lemon juice
- 1 tsp lime zest
- 1 tbsp lime juice
- 3 tbsp honey
Instructions
- Freeze the grapes ahead of time.
- Combine the frozen grapes, lemon and lime juice and zest, and honey in a food processor. Blend for 30 seconds at a time giving the machine time to rest in between. Blend until the mixture is smooth and like sorbet in consistency.
- Enjoy right away or transfer to a freezer safe container or loaf pan and freeze the sorbet until you are ready to serve.
Notes
- Wash your fruit well before using.
- When zesting the lemons and limes, avoid the white pith as it can be bitter.
- Bring the sorbet out of the freezer a couple of minutes before serving to make scooping easier.
- You can enjoy immediately or pour the mixture into a freezer safe container or loaf pan.
- Pause your food processor occasionally when blending so you don't overwork the motor.
- Keep some frozen grapes in your freezer for snacking and making this sorbet when the mood strikes.
Nutrition
If you make this recipe please leave a comment and give this recipe a rating! I aim to respond to every single comment. I am so grateful when you trust me and try one of my recipe creations in your own kitchen. I love to hear how it went! Let’s connect on Instagram and tag me in your food pics!
‘Til next time,
Christy